One-Evening Project: Stackable Parts & Project Boxes

I hadn’t initially thought to necessarily write up a full post, but a photo on facebook drew a pretty good response, so I thought I’d share some details here.

Quick and easy stacking project boxes made from foam core board. Optional dividers made with leftover scraps sort small parts.

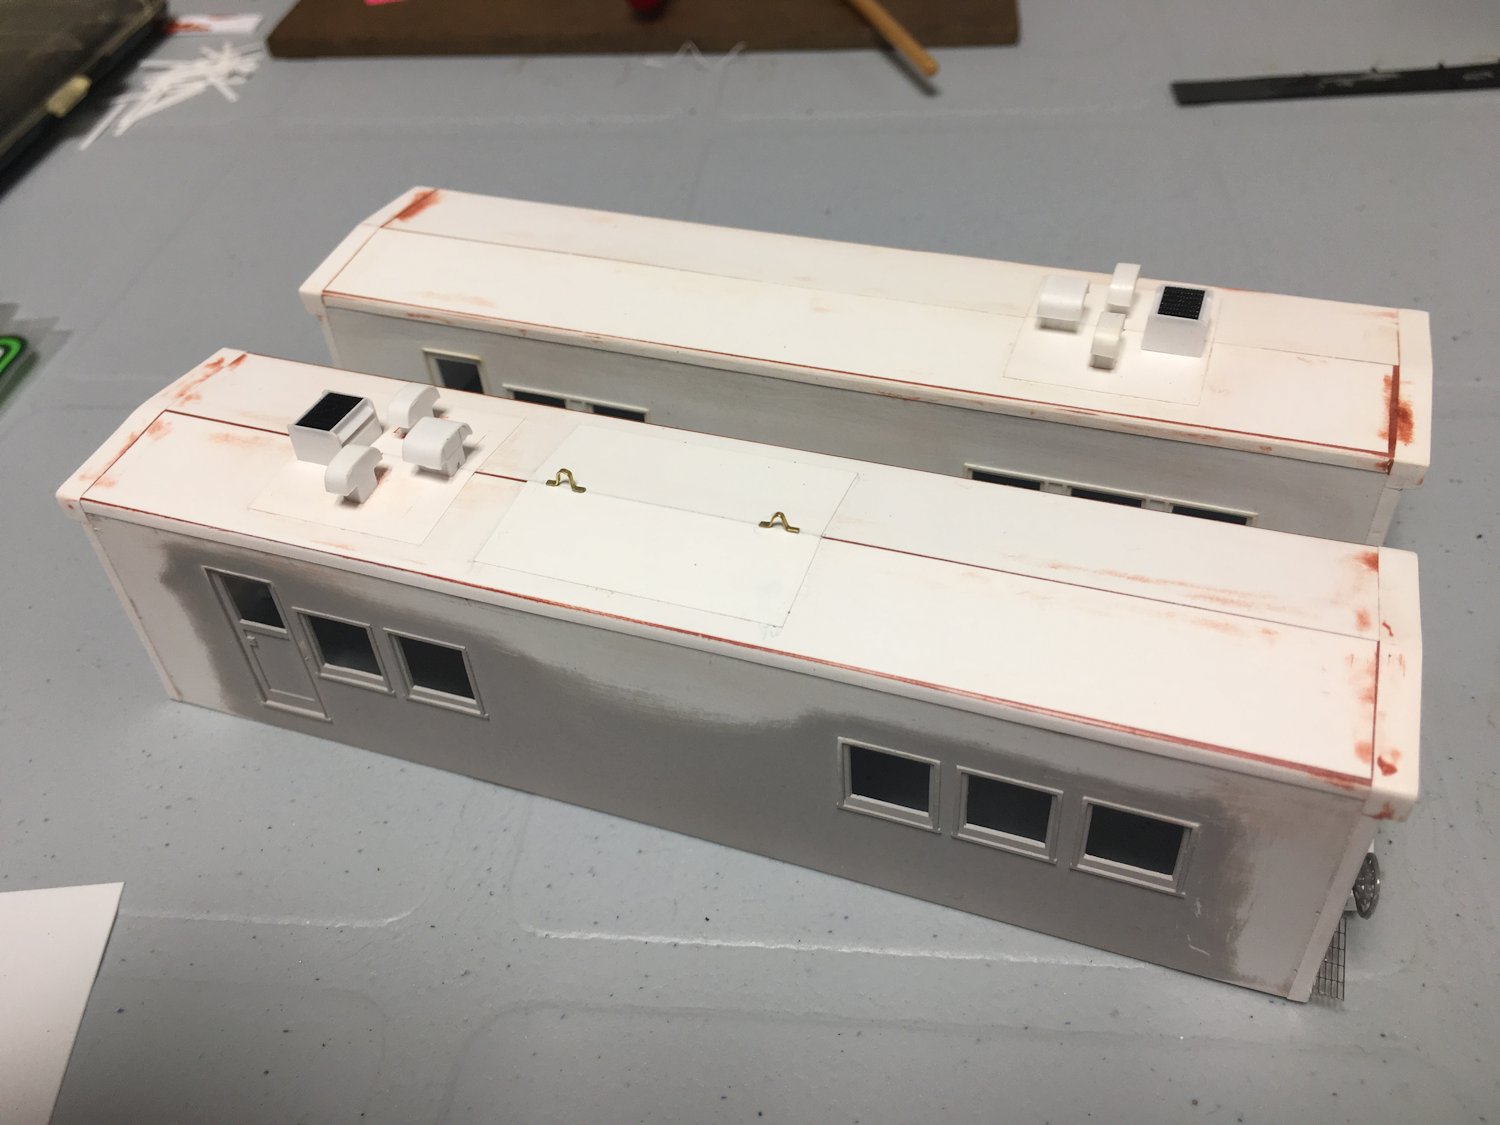
I’m sure a common malady amongst model railroaders is the accumulation of many in-progress projects all taking up space on the work table(s) at the same time. Like most, I have many kit projects on the go, and of course a lot of scratchbuilds and other custom projects, plus I recently acquired a 3D printer (which I’m sure will be prominently featured in many project to feature on this blog in the future). Of course these scratch projects don’t come with their own box(es), and many times extensively reworked custom/kitbash jobs don’t necessarily go back into original packaging either.

Keeping things (especially trucks, screws, and other small parts for projects) properly organized and separated (from other projects) and together (from not being lost from the project they belong to) becomes kind of important when you have more than one or two projects in the same work space. And just throwing parts and pieces in random surplus Athearn/Intermountain/Accurail kit boxes just wasn’t cutting it any more.

So I got some sheets of foam core presentation board from the local arts and crafts store (also available at most office & school supply stores as well) and worked up some standardized “project boxes” – larger than small kit boxes so that larger or multi-car projects can be organized together, and standard dimensions so the boxes can be stacked and organized to clean up my work space.

Properly laid out, two standard sheets of 20″x30″ foam core board can be cut into five 10×12″ boxes with a 2 1/2″ depth. The cutting diagram is laid out below: (Note the “long” sides are ~11 1/2″ not the full 12″ of the box bottom since they will fit in between the 10″ box ends.) The leftover strips can be saved to make low dividers in some boxes to separate small parts for some projects, etc.

Cutting guide for two 20×30″ sheets of foamcore board.
White – bottom (10×12″)
Tan – short sides (10×2.5″)
Blue – long sides (11.5″x2.5″)
Grey – leftover/scrap

Assembly of each box is super straight-forward, gluing the sides and ends to the bottom of the box to make a simple rectangular box with open top as seen in the lead photo. I assembled my boxes with a hot-glue gun (a “mini” version was purchased for $5 at the arts and crafts store). You could also use regular glue, but the drying time is very slow, and while the glue is wet the sides fall over if you sneeze at them, and if there’s any warping of the boards it’s difficult to hold them together properly. The hot glue sets very quickly and strongly.

For the finishing touch(es), you can use the leftover material after cutting out the box pieces per the cutting diagrams above to add internal dividers inside any of the boxes in any fashion that makes sense to organize bits and pieces of your projects (or some boxes could be general “parts boxes” instead of a specific project e.g. misc freight car details, doors & windows, etc.

Small squares glued to bottom corners allow boxes to stack safely without sliding.

Finally, from the remaining scrap material cut small squares of material to glue to the bottom of the boxes about ~1/4″ inset from the edges. These will act as “locking pins” into the open top of the box below and allow many boxes to stack without any movement, so you won’t fear the stack of boxes sliding and collapsing, spilling your projects over the worktable and/or floor.

Stacks of boxes store various projects and clean up work space. There’s still space to stack regular kit boxes as well for single-car projects in their original boxes.

And that’s it; just a very simple and inexpensive way of creating some organizers for your work space and various projects in-flight.

Steam Generator Roof Details

Catching up on some projects that I worked on a while ago, but haven’t posted to this blog recently. One of those projects is my pair of scratchbuilt ACR steam heater cars.

I assembled the bodies, and then these sat for a while while I worked out the roof details.

The main details are of course the various vents for the steam boiler. These are placed on top of a hatch on the roof. The hatches were made with .005″ styrene sheet glued to the surface of the roof. *Good* roof photos are hard to find, most of the detail is only worked out from side or oblique shots, but I have enough to go on to make out the size and positions of the hatches. Photos also seemed to indicate the one car had an extra hatch in the middle of the roof (not sure if and/or when this was added to the car, so it may or may not have been there in the mid-eighties, but it makes for a good visual variation). A couple of bits of flat brass wire formed into lifting loops finishes off the middle hatch.

The actual steam vents were an interesting challenge to build from .010″ styrene sheet and strip. The mushroom-shaped stack ends were carefully cut and filed to shape, then assembled with simple sides, and then the top was added by curving strips cut from styrene sheet over the top. Liberal use of styrene cement and patience holding the part in place while the solvent evaporated and dried was involved.

The boxy vent was fairly simple by comparison, assembled from assorted .010″ strip and sheet. The “grillwork” on top was cut from a scrap piece of walkway material in my junk/parts box.

There’s not much more to do on this pair of cars any more before painting them, but I have a few other passenger car related projects in the works as well, and I’ll probably hold off on the painting for a bit yet until I can put a bunch of them into the shop. Need to get some appropriate shades for the grey and maroon paint…

Freight Car Friday #75 – WC 237703

WC 237703 (ex AC 2489 nee NAFX 53201) westbound with a load of northern Ontario logs at Sarnia, ON August 2, 2021

Since sprint of 2020, when CN mothballed the former Algoma Central line between Sault Ste. Marie and Hawk Junction (no freight has run south of Hawk since April 2020) loads of pulpwood in AC/WC flatcars have been a relatively common sight running through southern Ontario on Toronto to Chicago train M397. A log loading operation at Mead (former location of the old Newaygo sawmill that operated between 1974-85) is one of the only major customers on the former AC line, and with the line unused south of Hawk these loads take the long route to northern Michigan/Wisconsin via Toronto and Chicago.

It’s not uncommon to actually see AC-marked pulpwood cars mixed in with the WC ones – most of the AC 238100, 238400, and 238500 series cars are still active – but this WC car in particular happened to catch my eye out of a block of nine loaded WC cars on August 2nd’s CN M397 through my hometown of Sarnia.

The WC 237000-238000 series of converted pulpwood flatcars is a wild range of old flatcars from many previous CN-family (mostly DWC and BCOL, but also other former CN and WC cars) rebuilt and renumbered with very little organization to what prior groups the cars are pulled from, just renumbered into the series as they’re converted.

The orange colour of WC 237703, and some of the paint patchwork underneath the most recent patches for the new WC number and the log bunks suggested a North American Car Co. (NAFX) heritage – likely via AC 2476-2494 series. Some cooperation on facebook with a couple of guys with access to the UMLER (Universal Machine Language Equipment Register) – the common electronic equipment database used by North America’s railways – helped confirm that the previous identity of WC 237703 was in fact AC 2489, and its original number before being acquired by the Algoma Central (in 1994) was NAFX 53201 (from NAFX series 53200-53249).