Wordless Wednesday #16
Reply

Over a few evenings the past week I got this car painted black and applied all the lettering. After languishing on the back burner for about a year, it feels good to put some attention towards finishing this project off.
The body was airbrushed black and then given a shot of GlossCote to prepare for decals. Lettering is (mostly) from a Black Cat set for 52′-65′ gondolas.
(The black sure is difficult to photograph well, particularly with the crappy lighting I have available in my apartment.)

The digits of the car number are all individually applied. It would have of course been necessary to apply several numbers individually in any case to form the correct number, but also because of the narrow space between the ribs the numbers in this case had to be applied with almost zero spacing between them. The spacing of the C.P. initials was similarly reduced.
For this car I also applied the data to actually match the numbers on the prototype photo, and also a little trimming of the spacing was required for everything to actually fit. I left the capacity line off as this was no longer required and started to be painted over on many cars in the early 1980s and I hand painted a bead of black over where this would have been lettered.
The NSC builder’s logo and dimensional clearance Plate C stencil came from a Highball Graphics CP Rail flatcar set, and the nailable steel floor data stencil (rectangular data block to the right of the panel with the Plate C stencil) was included in the Black Cat set.

Interestingly, in the prototype photo of 336702 that I have, the end reporting marks are in the modern italicized CP Rail font, which would not have been in use in 1965 when the car was built. This was probably re-applied at some point due to weathering of the original lettering on be end. I chose to reproduce this detail and used the small end reporting marks/numbers from a Highball Graphics CP Rail gondola set.
Now this car is almost ready for some basic weathering to complete its in-service appearance.


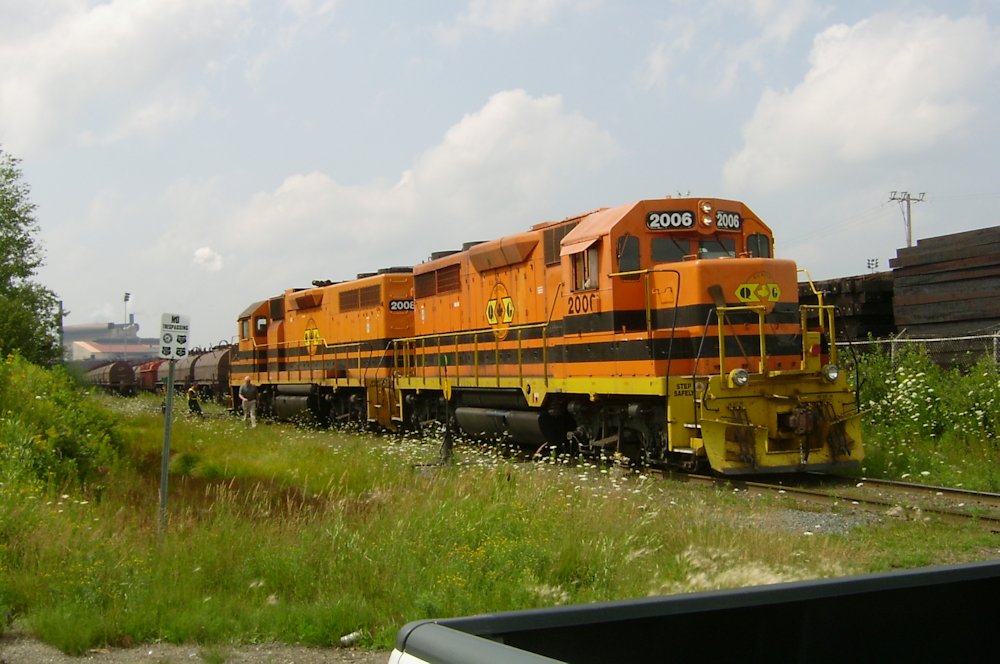
These unique 3 car sets have got to be one of the most unusual cars on the Algoma Central.
I’m not sure of the total number and extent of these cars, but I have photos of 3903, 3907 and 3908. (AC 3903 (below) and 3907 (above) shown here.)
These cars were constructed for steel plate service between Algoma Steel’s main mill and the Welded Beam Division mill on Conmee Avenue, just north of the Steelton yard. Because these cars were in dedicated service between these two points, which are both within the Steelton yard limits, these cars don’t appear on any Official Equipment Register listings.
Each “car” is made up of three units, which are themselves all former Algoma Central equipment from other series. The base of the car is a former 3501-3850 series gondola with a heavy steel frame made up of welded I-beams extending well out beyond the length of the central car, and a 40′ idler flatcar permanently coupled at each end. Note the “B” end car appears to be a cut down 2300 series flatcar with part of the end rack remaining and the brake wheel lowered. The “A” unit is likely formerly from the 2200 series of 40′ standard flatcars.

These two cars photographed on August 18-19, 2004 at the Welded Beam Mill and Steelton yard respectively.

Here’s an old project I was able to bring off the shelf on a peaceful Sunday afternoon. I documented the start of this project earlier in a couple of postings here on this blog, (see part one here, and part two here) and it’s been over a year since I’ve gone and done anything with this. Time to finish a few things up and get this project ready for finishing.
The next step that was holding me back on this project was drilling and installing the grab irons for the left corners on each side. Not that this was really a tough job.

To aide in keeping everything neat and straight, I laid out the locations of the drill holes for the grab irons on a scrap piece of styrene to use as a drilling template/jig. The jig fits into the corner made by the top chord and first vertical rib on the side of the car. Then by drilling through the pre-drilled holes in the template into the car side, everything is lined up nice and neatly.
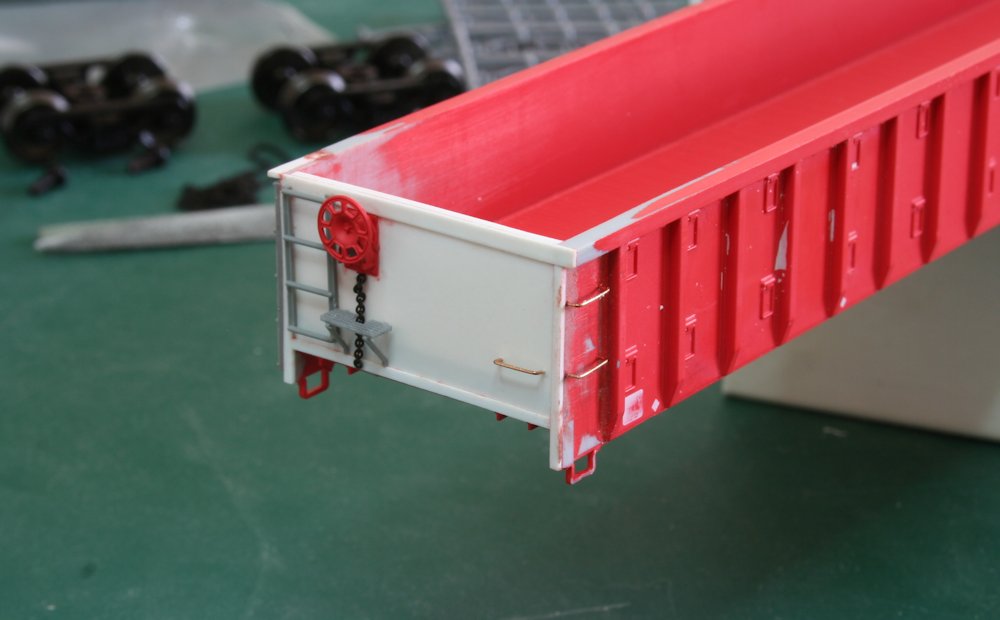
I also reinstalled the brake wheel and housing, and used a piece of scale chain to represent the brake chain heading down from the brake wheel mechanism. The brake platform/step was cut down from the original long piece removed from the factory Exactrail model with a pair of supports out of a Tichy brake details set.
At this point the car is ready to be cleaned up and prepped for painting; I’ll probably fire up the airbrush this evening to give is a primer coat.