Stripathon! or, An Evening with my Good Friend Alcohol…

No, no, no. Not that kind of alcohol, and not that kind of stripping.

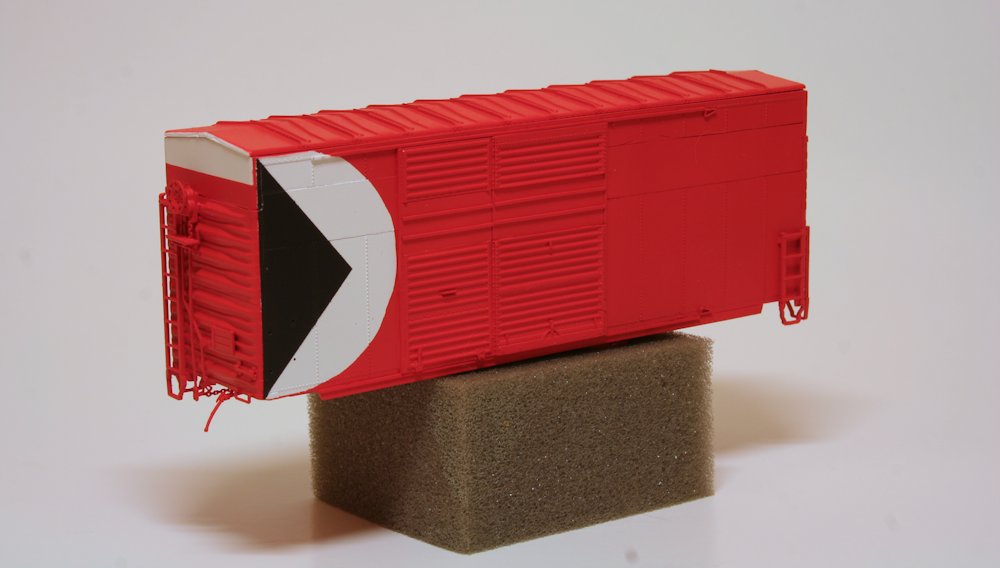
I spent some time tonight disassembling and stripping the paint off of some Walthers hopper kits to prepare them for detailing.

IMG_8475

Yesterday these dozen cars were in such varied paint schemes as Conrail, FEC, William Bros./Blue Circle Cement, and even WC/AC. It’s interesting how underneath the paint the cars were also cast in varying colours of plastic.

A bath of 90% rubbing alcohol from the drugstore attacked the paint and lettering quite nicely – in less than five minutes the lettering was literally floating off of the yellow cars. Most of the paint came off quite easily by scrubbing with an old tootbrush, although it took a little elbow grease to get most of the paint out of the corners.

Walthers Log Truck

I’ve had this old kit kicking around on a shelf somewhere probably for well over 10 years now!

This is a resin kit that was offered by Walthers. I don’t think it’s currently available anymore. I finally decided to actually glue some of the pieces together, and gave the whole frame of the thing a shot of black in the spray booth. It’s not a super-detailed model, but it’s building up into something that will look right at home near one of the sawmills on my future layout. (I’ll just have to give it a load of logs and place it closer to the rear of the scene so you can’t see that some of the wheels are a little cock-eyed on the axles.)

IMG_8471

The truck cab piece has obviously not yet been mounted; I’ll need to paint that another colour yet before assembling the model.

We now interrupt your regularly scheduled programming…

Ok, this one really has nothing to do with the Algoma Central, but I just love these oddball cars. This CP 40′ boxcar is a project that I’ve been working on that will ultimately see service down at my model railway club.

The prototype for this car is one of a very small group of 40′ boxcars that were rebuilt to increase the internal capacity for hauling appliances (i.e. kitchen stoves, etc.). I built this model from an Intermountain 40′ boxcar kit, performing a similar chop job, splicing the various bits with sheet styrene to increase the height. The Intermountain kit has separate ends, doors and roof pieces which really lends itself to this conversion job.

IMG_8470

I got this car painted red quite some time ago, and it’s been languishing on the shelf for a while behind other projects and life in general. This evening I finally moved it back into the paint shop to spray on the black part of the “multimark” logo. This stretched car also had a stretched multimark to fit the area beside the door, so this was masked and painted on, making this a three-colour paint job. (The white was done first (after a grey primer), then the red, and then finally this evening, the black.)

Now it’s finally ready for decals!

Basic Underframe for AC 300

Sat down again to this project for a while this evening.

I managed to file down the back of the skirting on the “A” end of the car and glue the side back into the end to repair the earlier damage. The floor piece is now able to manuever past the skirting and set into the body. (It’s just dry-fit for now.)

I admit I’m not a total expert to everything that’s going on under passenger cars, and there’s a lot of variation from car to car. Also I don’t have any really nice close-up detail photos of the bottoms of these two cars. Based on the reference photos I do have, I tried to replicate the general outline of what’s under there using the Train Station Products passenger car detail set, which includes a variety of tanks and boxes and other details.

IMG_8465

It’s not the most super-detailed underframe, but starting to at least represent the profile of the real thing. I plan on adding at least some piping to represent the air brakes and electrical connections underneath. It’s not going to be 100% accurate, but at least it should have the general impression of the thing.

Shortened Frame and the Flaw in my Plan

The other evening I spent a few minutes filing down my cut underframe for one of these baggage cars. I glued and spliced it together, and wanted to test its fit in the body. Therein began the problem.

Of course the curved bits of the skirting make the bottom of the car a bit narrower, and I wasn’t able to get the underframe in past them. And the laminated sides are actually fairly rigid where they’re glued together and to the ends, so while trying to figure out a way to slip it in there, this happened:

IMG_8455

The damage is certainly minor; it just split the brittle CA joint between the side and the end, but it illustrates a bit of a flaw in my assembly sequence.

It’s relatively easily surmountable; I just need to file the backs of the curved skirting down to flatten the back side so that the underframe slides in past them. It’ll make me look at my plan for subsquent cars based on these sides and core kits – either I need to file the backs of the skirts on all these cars, or I really need to make the roof, rather than the floor, the removeable part. If I want to model dropped steps on some of the coaches I have on deck, I may have to do that anyway.

This car’s body and roof have already been glued together as a unit, so it will be repaired and have the backs of the end skirts filed to fit the floor. I’ll revisit this again with the next car.