…wrapped lumber bundle that is.

I’ve been spending some time lately working on making up some wrapped lumber bundles that can be used to put together some flatcar loads (and any extras will be saved to make stacks of finished lumber around the mill property when I build that location on my layout.
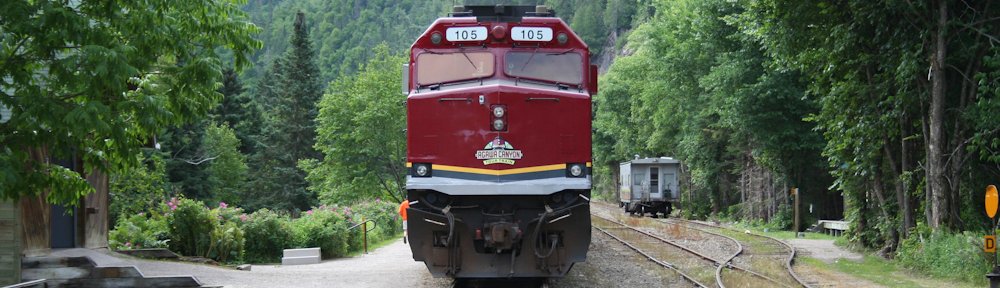
These bundles are wooden blocks wrapped in paper printed with custom graphics matching the logos used by Newaygo Forest Products. Since Newaygo is a bit of an obscure operation compared to say, Canfor (Canadian Forest Products) or Weyerhauser or other larger lumber companies, I was going to have to come up with a custom solution. Very fortunately I have this Ted Ellis photo of AC 2425 with a Newaygo lumber load as well as a straight-on photo of the sign in front of the old Newaygo office still standing at Mead to work from in order to draw out the logo and letter font.
I am not particularly proficient with graphic design or Photoshop, but I was able to draw out the logo and text using the 3D drawing program Sketchup, as the squarish logo and letters with rounded corners actually lead themselves nicely to being drawn with this program, and then exported the front view as a PNG image, which I cleaned up a little with Paint and resulted in the graphic below:
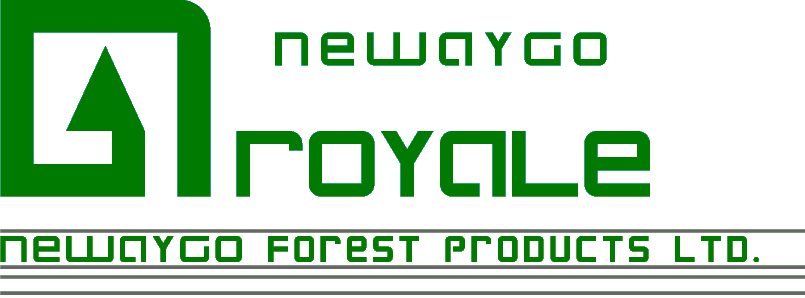
The bottom line “Newaygo Forest Products Ltd.” was a bit of a guess, as you can’t really quite make out that lettering in the Ted Ellis photo, but this prints out pretty small in the end result and you have to really lead in close to read it. Feels about right though.
My dad’s hobby is woodworking, and he has a pretty nicely fitted out workshop at his house. As I am fortunately currently living in my hometown again, an evening visit to my parents place last week with a couple of hours with my dad in his workshop turned a scrap piece of 2×6 into a large pile of wooden blocks sized for scale bundles of lumber in 8′, 10′, 12′ and 16′ stud lengths. The original block of wood was ripped into small strips using the table saw, and then the strips cut off to length using a band saw with carefully measured fence distances.
The final sizes of the blocks are 8mm tall by 13mm wide/deep, with lengths of 28mm (scale 8′ stud bundle), 35mm (10′), 42mm (12′) or 56mm (16′).
Since then I’ve slowly been cleaning up the blocks by sanding off any surface burrs and splinters (I’ve got a large pile to go through yet!) and started gluing on the paper wraps on a few blocks to start getting some finished pieces. I’ve got to finish off quite a few more in order to start assembling a load, but when I’m done wrapping all the blocks we cut last week, I should have enough to do at least half a dozen various loads with some left over for lumber mill scenery in the future.
If anyone else modelling the ACR or upper Michigan (or just looking for something a bit different) would like to print off some graphics to make their own Newaygo load(s), I’ve uploaded a ready-to-print PDF file which will print off a series of graphics to the correct size for HO scale bundles.
Hi,
great looking lumber load…..now I have an idea for my BCR flatcars
Greets,Chris
Very nice.
If it’s possible, creating vector graphics would make the loads scalable from 1:1 prototype scale to 1:220 Z scale and everything in between. I use a free, open source program called Inkscape (https://inkscape.org/). Inkscape runs on Windows, OS X, and Linux. Feel free to contact me if you have any questions.
Re-reading my comment after posting it, it sounds like spam. It’s really not. I am merely a satisfied Inkscape user. It’s an open source program very similar to Adobe’s Illustrator.
You are correct of course, unfortunately I’m not that talented a graphic artist.
That’s the thing with a vector program such as Inkscape, Illustrator or Corel Draw! you don’t need to be a graphic artist those programs are meant for graphics. I use C Draw myself, and have amassed over 1000 scalable fonts that can be used as is or modified or customized, and there is a ton of free clip art of existing logo, and designs and drawing that can be used to create logos. The magic thing with vector drawing is there is no change in resolution, pixelating, line size changes or blurring no matter how much you scale it. You can work on modifying a single letter full screen then shrink it down to Z scale and it will be just as clean and sharp. Your printer’s resolution and paper becomes the limiting factor, not the program. Hint, use glossy or matt photoprint paper for the sharpest images.
I found this much needed resource on Luke Lemmen’s Soo 2nd Sub FB page. The Silver Tree is wonderful. Keep those 1970’s logo’s coming!
Thank you,
Bob Rivard