Wawa Station Doors and Windows

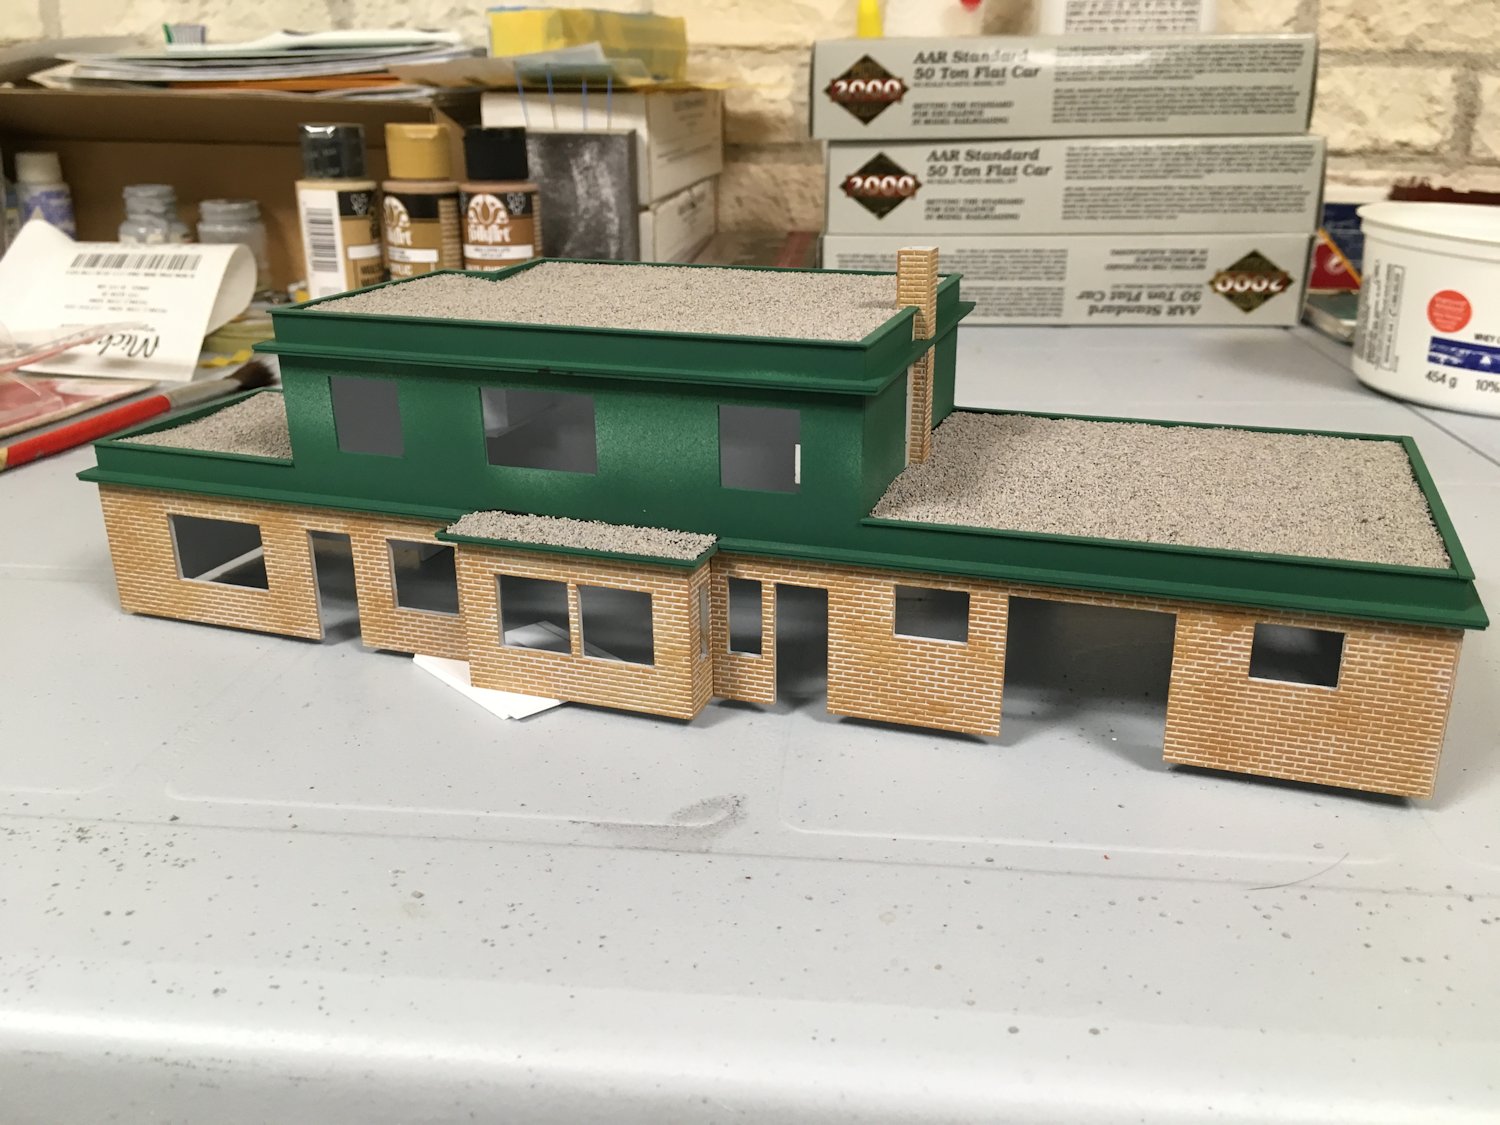
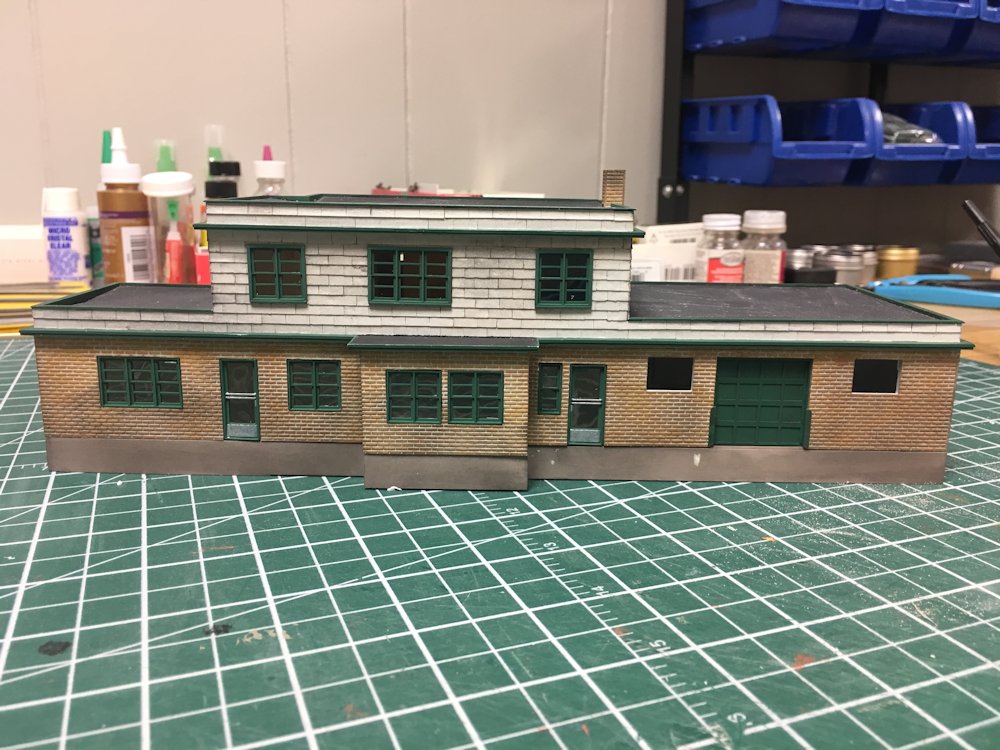
Part of this project was done quite a long time ago, and then other projects got in the way for a while. After a big cleanup of my hobby workspace last weekend, I rotated the Wawa station back onto the workbench to actually finish off some detailing on this structure.

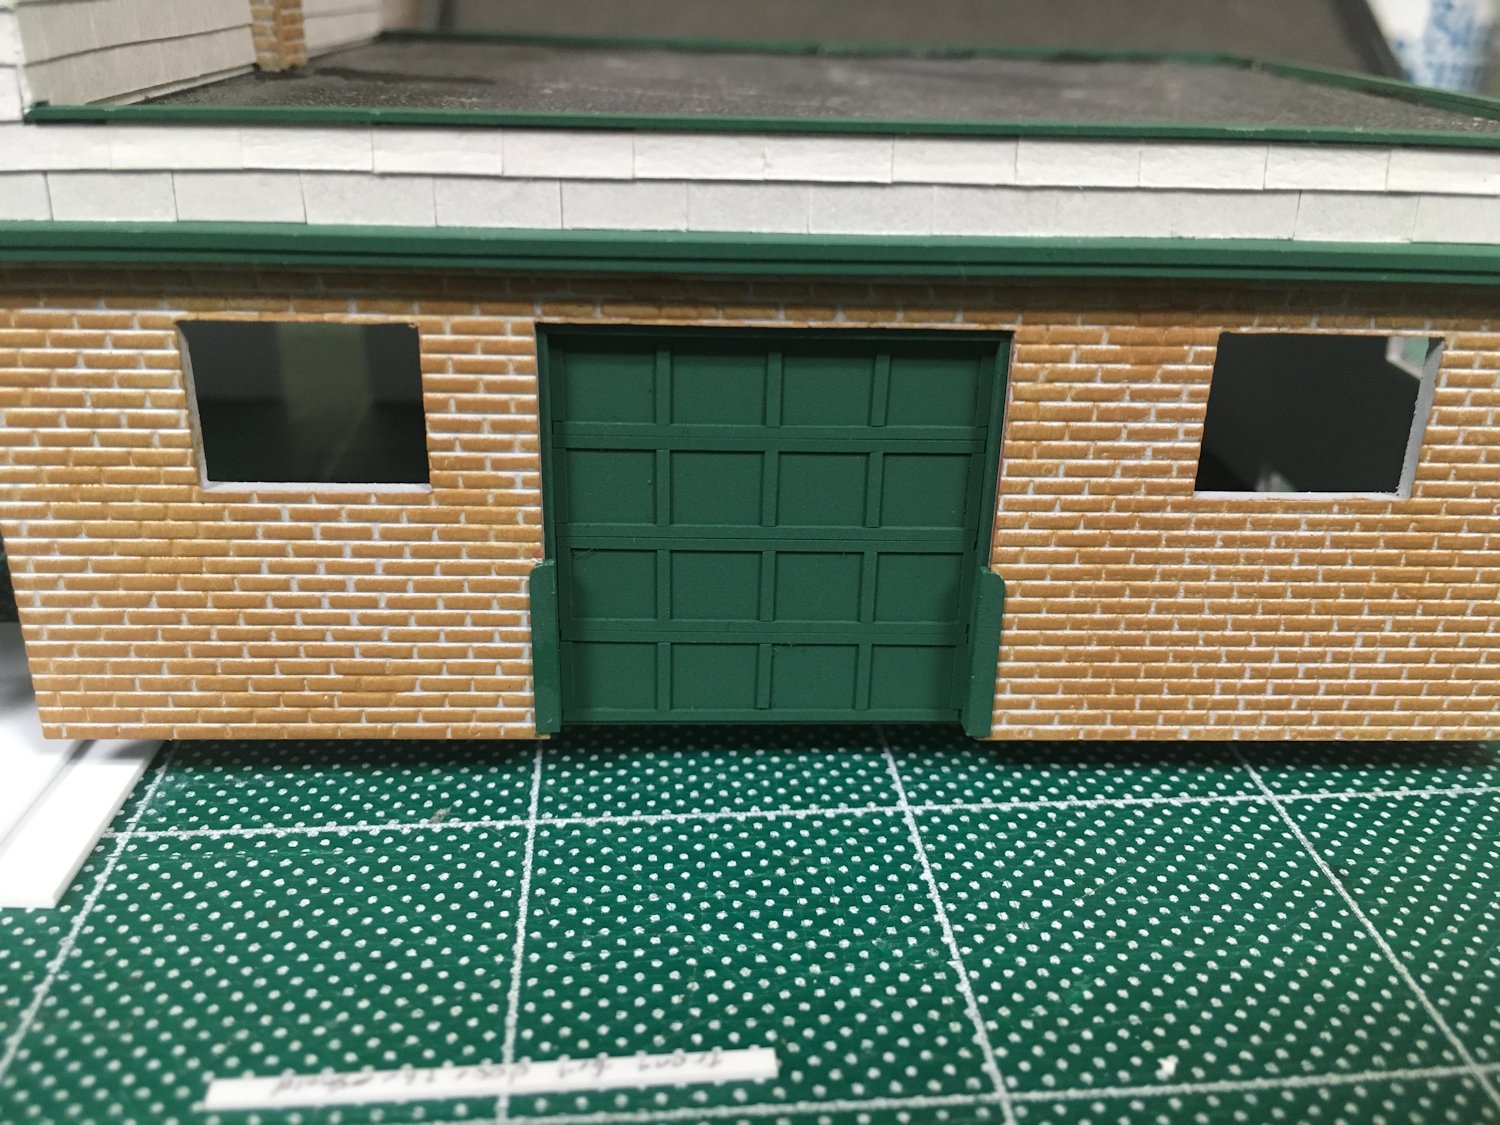
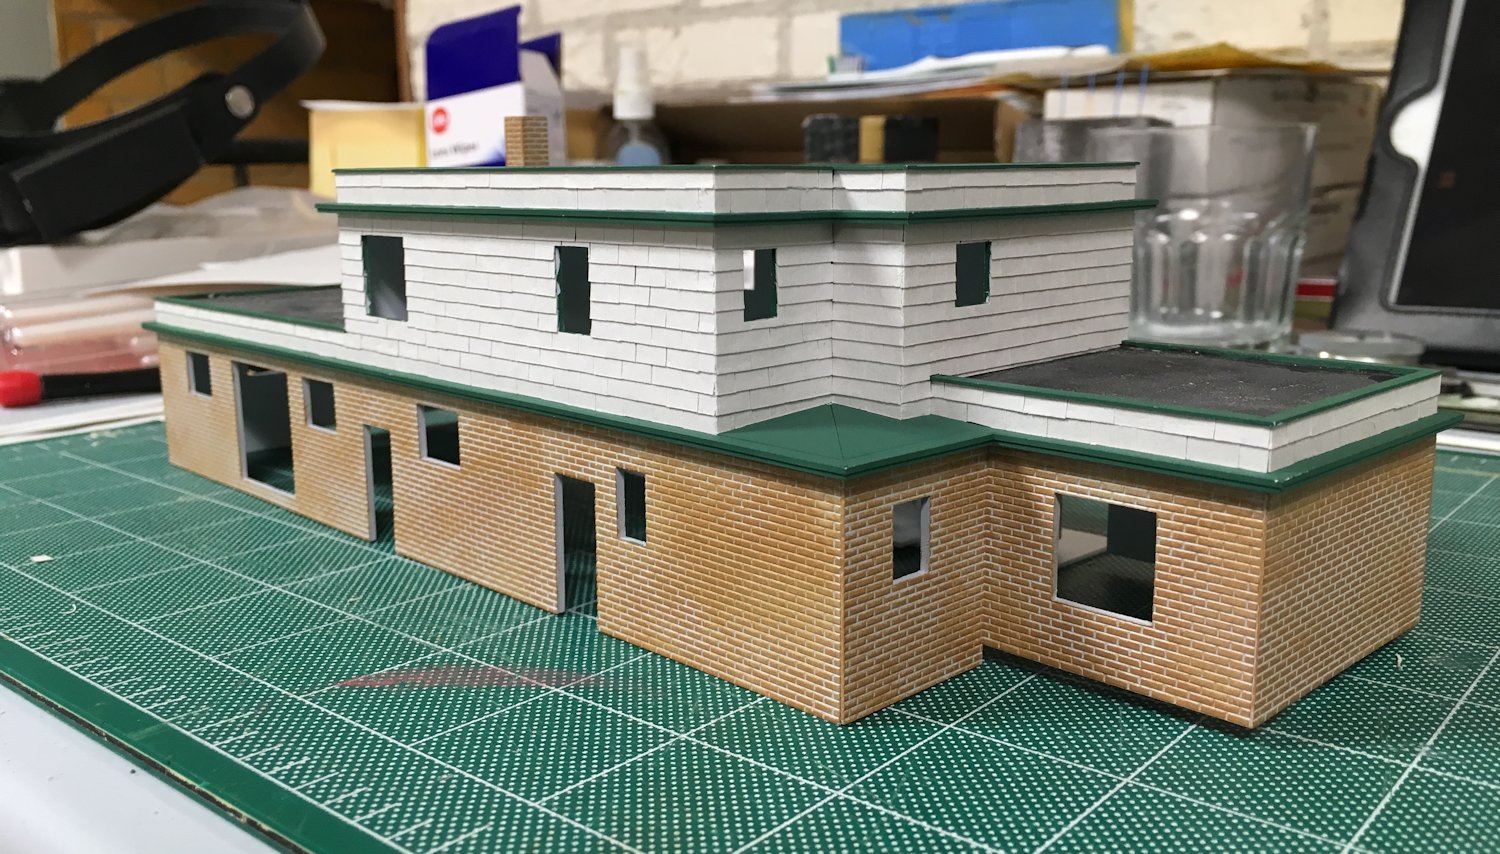
The station featured some unique windows in different sizes, so I drew and 3D printed the windows and entry doors for the station. With bathroom, operator’s bay, and upstairs hallway and kitchen windows all being unique sizes, and upstairs windows being frame mounted and ground floor windows mounted in brick, there are no fewer than a dozen unique windows and two doors (left and right versions) that were drawn for this project.

3D printed entry door

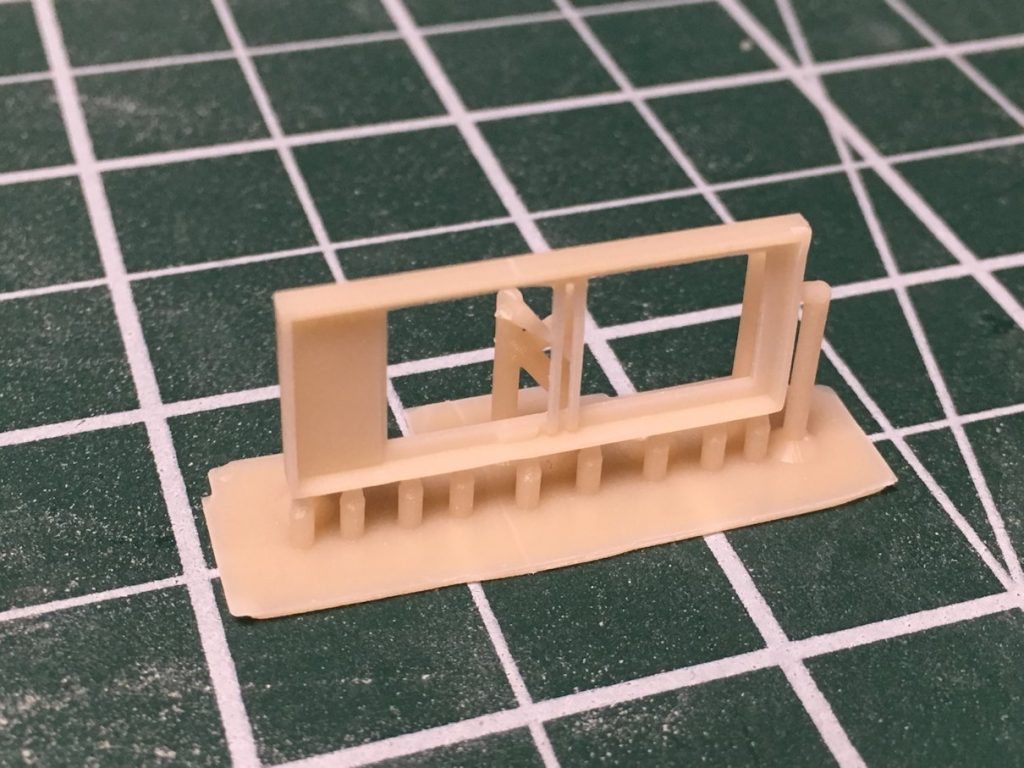
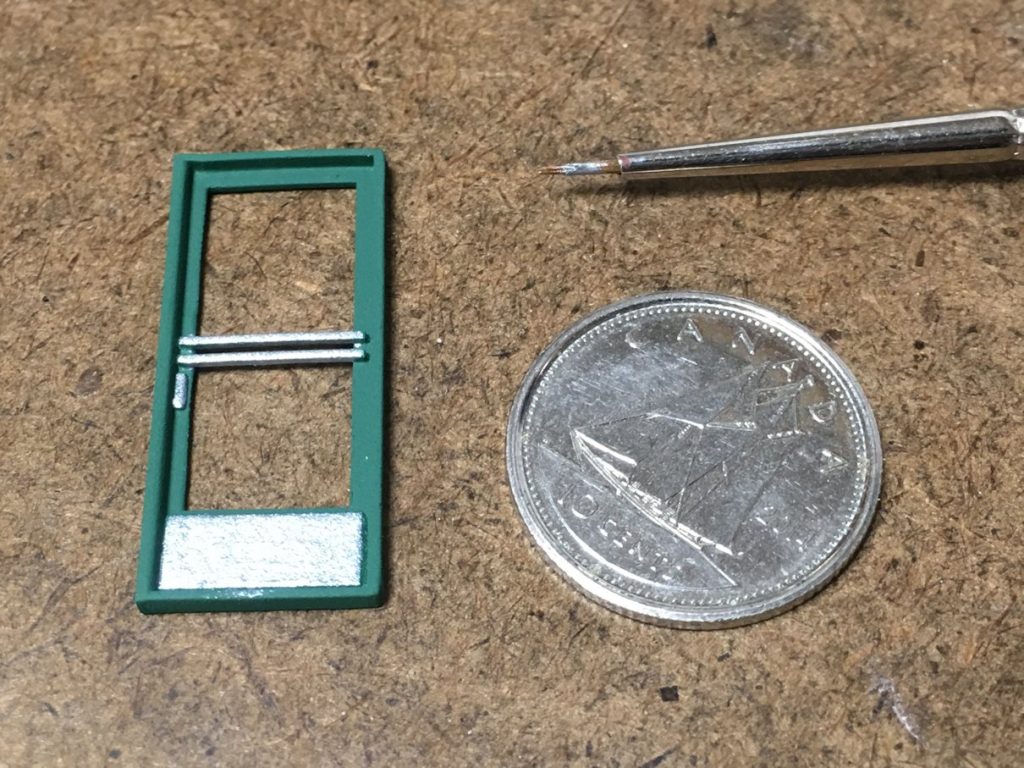
Having been designed following the architectural blueprints and printed, the windows were all primed and painted in the green colour I used for the station trimwork, and clear plastic installed on the back side with clear parts cement. The doors featured aluminum push bars in front of a large glass window. The aluminum bars and door locks were hand painted with a fine tipped brush.

Finished door after detail painting.

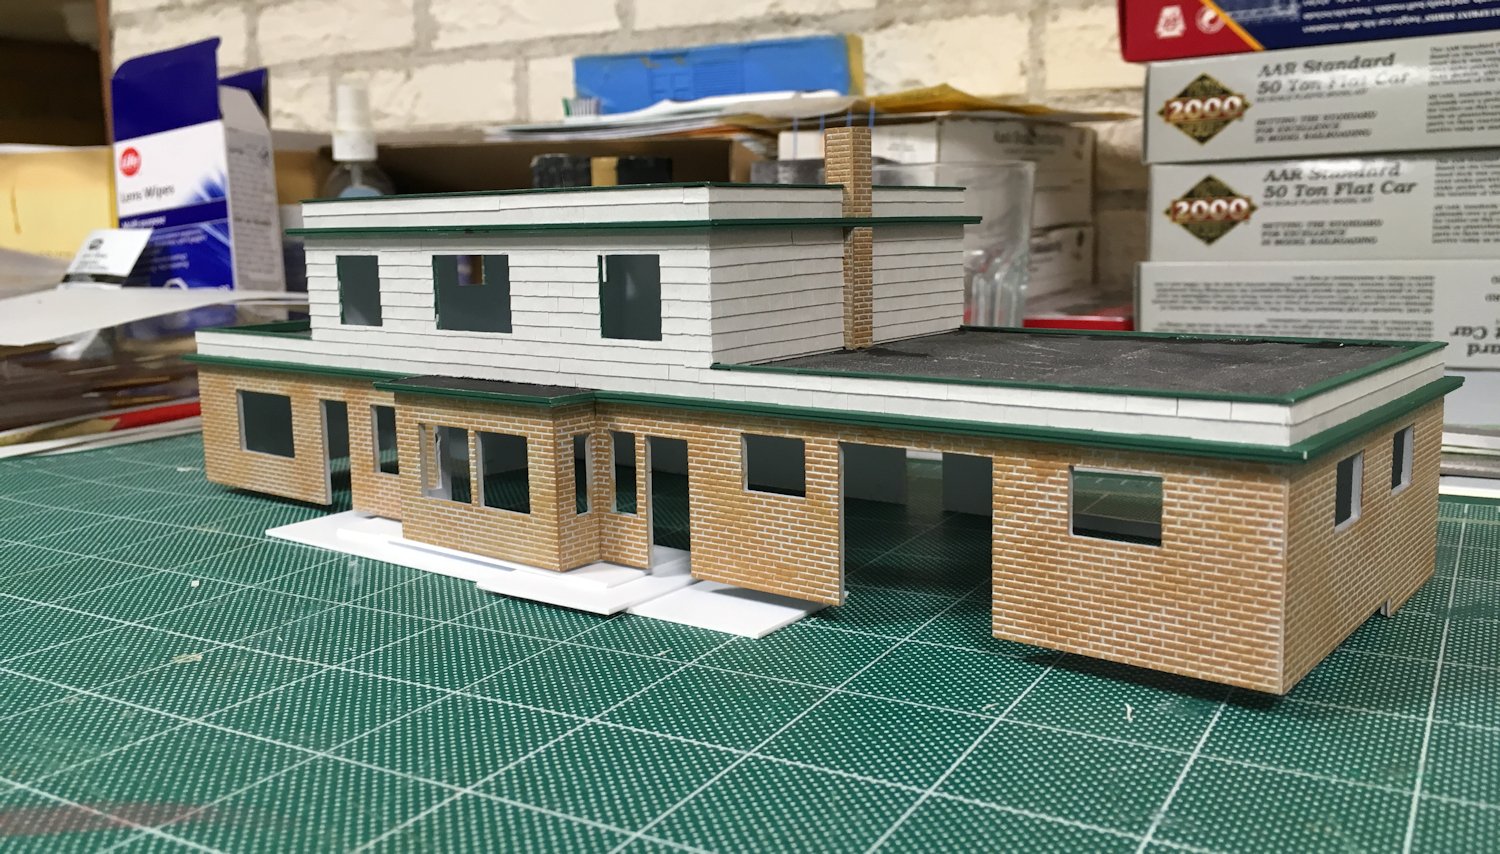
Once the windows were painted and had their clear plastic “glass” installed, it was a matter of carefully cleaning up the openings in the structure with a file to precisely fit the doors and windows, and glue them in.

Windows and doors installed on track side, except baggage room glass block windows.

The baggage room of the station featured glass block windows instead of framed windows. To model these, I scratchbuilt the glass block using some heavy plastic from some clear packaging. Lines were scribed at scale 6″ spacing, and the front side painted with light grey acrylic which was quickly wiped off the surface with a paper towel in order to just fill in the mortar lines between the “blocks” and leave the glass clear.

Mortar lines scribed into clear plastic for glass block windows.

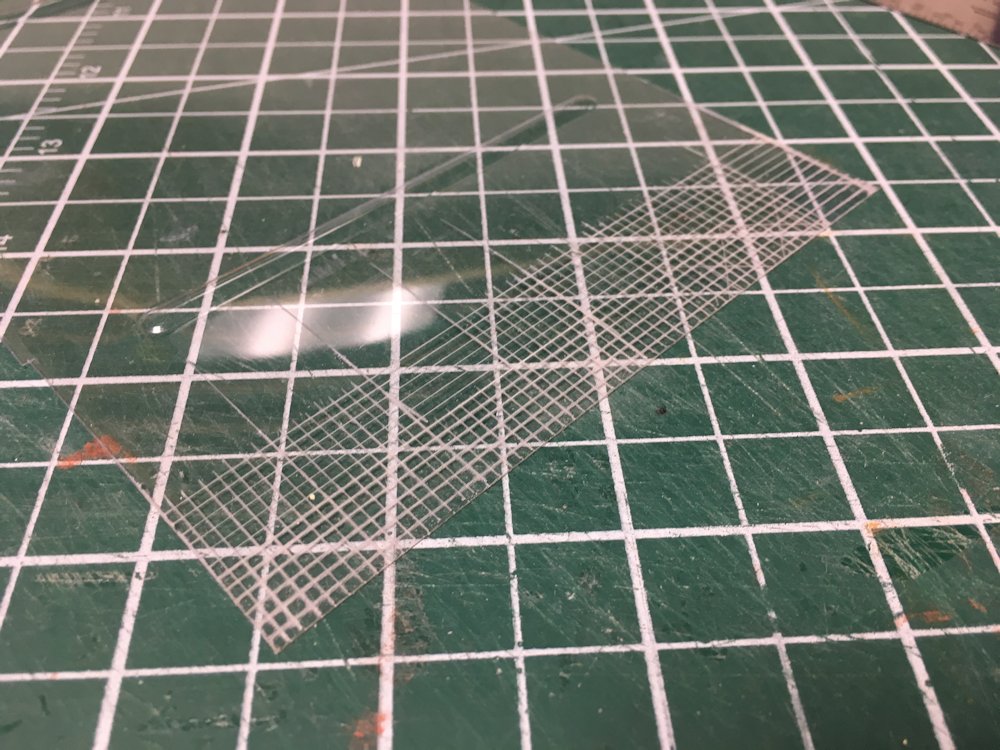
After painting the mortar lines on the “front” of the piece, I flipped it over and sanded the back side with super fine sandpaper in order to rough up the surface and make it cloudy looking. Then the pieces were cut to size and filed to fit precisely in the window openings and glued in place using clear parts cement.

Finished windows and doors including glass block windows in baggage room. (Rear/street side.)

When gluing in the glass block pieces like this, push them into the opening from the inside of the structure, as any glue that gets on the rear/inside of the window will smooth out the roughed up surface and make a visually clear spot again.

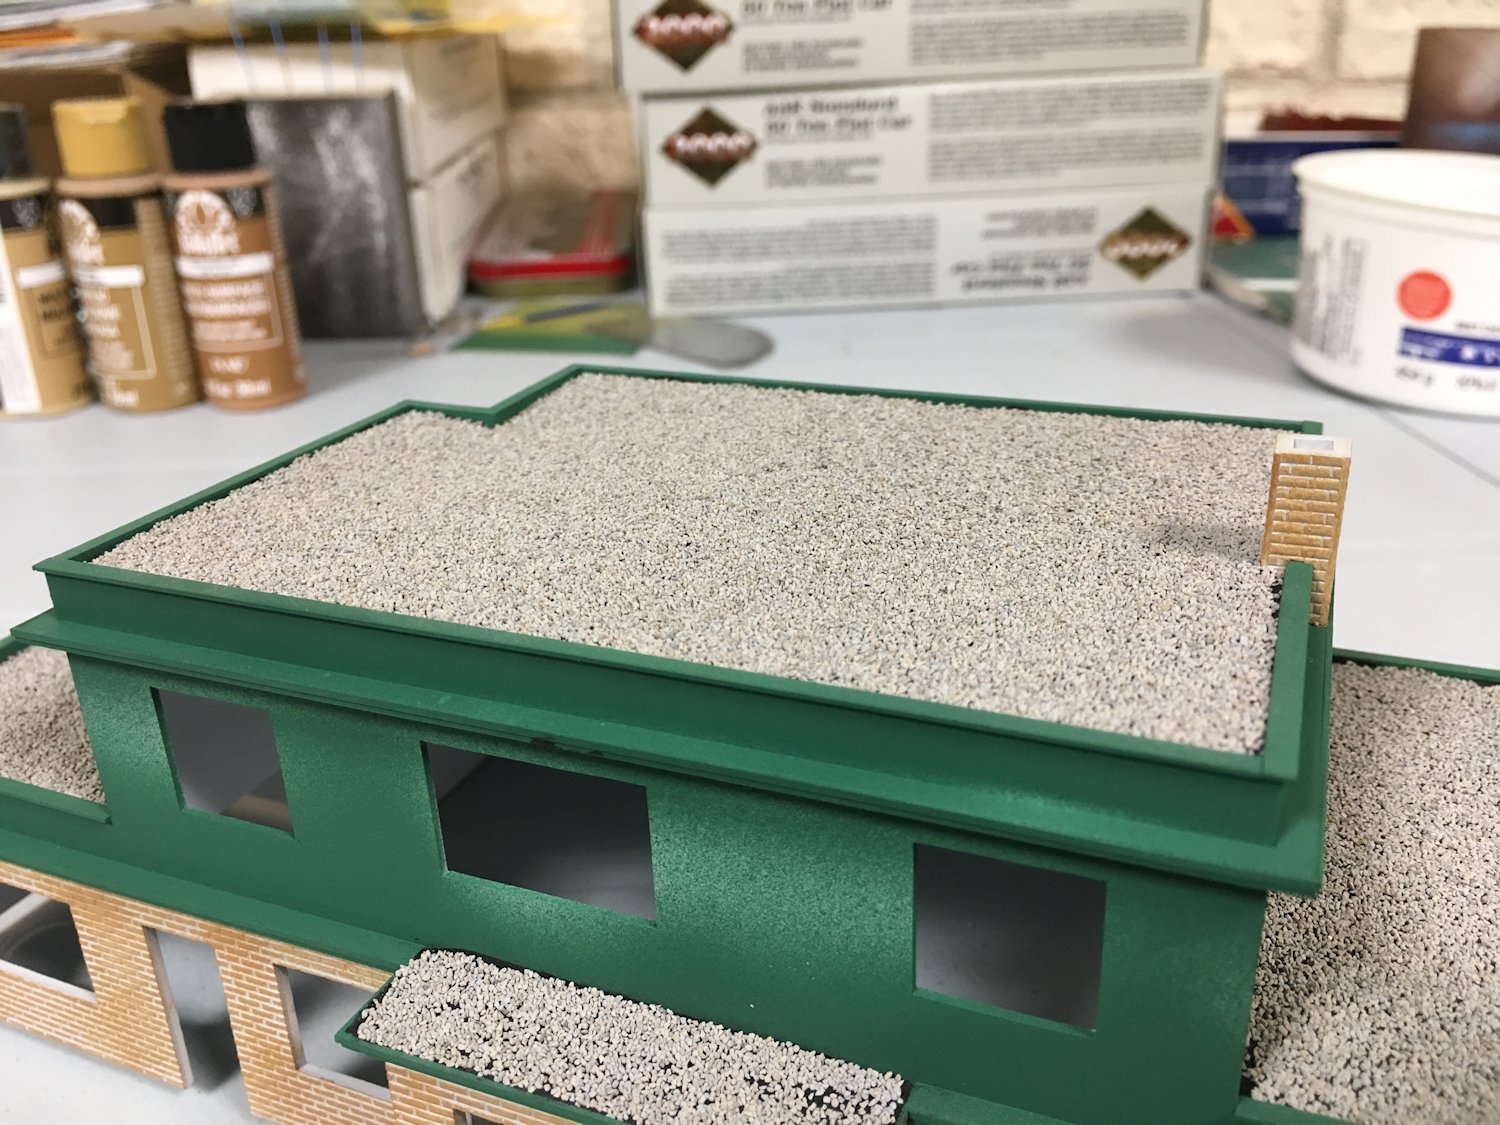
The main details left to complete the station are the name signs and to re-do the gravel roof. The station was disused by the time period I am modelling, and it is possible that I should actually board up the glass windows for the abandoned structure, but for now I’ll leave all the windows intact.

Rollup Baggage Room Doors for Wawa

The baggage/express room in the Wawa station featured 8’x8′ roll-up freight doors on both the track and street sides of the station. I scratchbuilt these from a .020″ styrene sheet back and .010x.030″ strip for the grid pattern on the door sections. The outer door frame is .020x.060″ strip on edge.

Doors and corner posts (angle bits in the middle) airbrushed Sylvan Green. The corner posts are made from a 2×2 spacer to match the door frame and a 1×6 front piece with a corner filed off to a curve.

Front (track side) baggage door and corner posts installed:

Wawa Station Siding

And Wawa station finishes another step forward to completion.

While the lower story was brick, the upper level of the structure was clad in cedar-grain asbestos shingle siding. I reproduced this with strips of grey cardstock. It took a little while, and my technique rather refined as I went along, but I’m generally happy with the result.

A number of ACR structures used this type of shingle siding, so expect to see this sort of finish again on other future projects…

Tar and Gravel Flat Roof Surface

A bit more work with paint and gravel and the roof of the station is now surfaced.

As noted in a previous post where the slope of the roof was built up from styrene sheet, the “flat” roof is not, in fact, actually flat but does slope in order to provide drainage. That slope is in fact there, although with the gravel surface added, it almost completely visually vanished, except in that one subtle spot in the corner where the roof actually slopes against the top of the wall. (That reminds me, I need to go in yet and actually add a couple of round plugs to represent the drains, as well as a vent pipe for the toilet plumbing. All easy bits to add…)

Actually flat or not however, the technique for making the tar and gravel roof is pretty simple. After applying a thick brush coat of black paint (just regular flat black acrylic) and while the paint is still wet, sprinkle on a liberal coating of gravel and let sit. I used some fine ballast which I sifted to make sure I was only left with the finest grains. The effect is good, however it’s still a bit coarse actually for a gravel roof. I may yet scrape this off and re-do it with finer hand-sifted natural materials – I’ll have to sleep on that idea yet for a bit – but the technique is still sound.

You’ll also notice I sprayed the Sylvan Green colour for the trim before doing the roof, as the trim borders the roof surface, and that would be more than a little bit impossible to mask and spray after the fact. The bold green colour on the upper walls though will not last – only the trim is actually this colour, and light grey siding is yet to be applied to the wall surfaces, so the station will have one last drastic colour change for completion.