The doors for these cars was an interesting scratchbuild project. It’s been a while since I worked out the measurements, but I was able to come up with something that looks pretty good. Here’s my drawing from my notes:

Measured construction drawing of the baggage car door.
The scratchbuilt door master consists of a .020″ styrene door blank with the trimming made from scale 1″x6″ strip (except for the centre vertical that divides the lower part of the door into 2 panels with is a little wider – 1″x8″. Working carefully and measuring with my dial calipers, the trim was fixed by applying liquid styrene cement with a fine brush. My favourite here is the Testors liquid plastic cement. I highly recommend against Plastruct’s Plastic Weld in this application as I’ve found it to leave a nasty surface residue when used on styrene.
To get a nice clean upper window, I applied the trimming to the door blank before cutting out the opening. I don’t remember doing the cutting anymore, but the best approach would be to drill out the corners and then play “connect-the-dots” to cut out the rough opening. What I definitely do remember is carefully opening up the window opening with a series of fine needle files, filing the opening even with the 1×6 trim strips.
Since I knew I wanted to probably make more than one of these cars, I planned on making one door master which I could then make molds from to cast several copies in resin. The door blank was therefore cemented to a piece of .060″ styrene backing.
The window mullins were added after the door was cemented to the backing plate. This ensured that they were nice and flush. The mullins are .030x.040″ strips, laying on their wide side to match the ~.030 thickness of the .020″ door + 1×6 (.011″x.066″) trimming. These should be evenly spaced. (I didn’t keep notes for this spacing, but measuring the door master shows each window pane to be an average of .145″ wide (within a variance of .005″, well within a margin of error and not detectable by the eye).
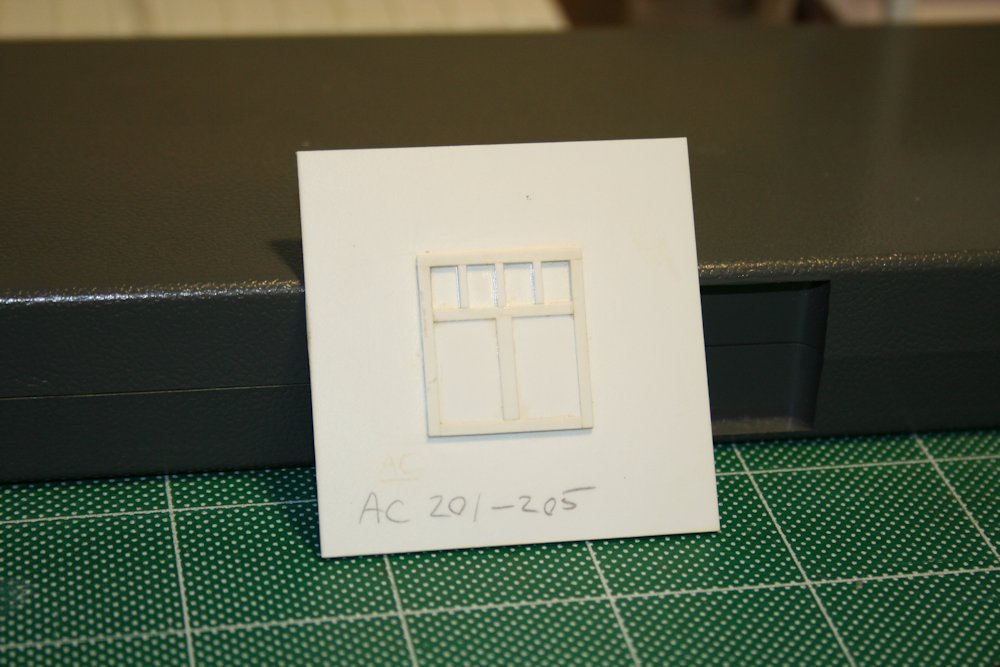
Finished door master.
Following the completion of the master, I was able to create the rubber mold from the master and use it to cast several copies of the door. I now have more than enough doors to do several cars.
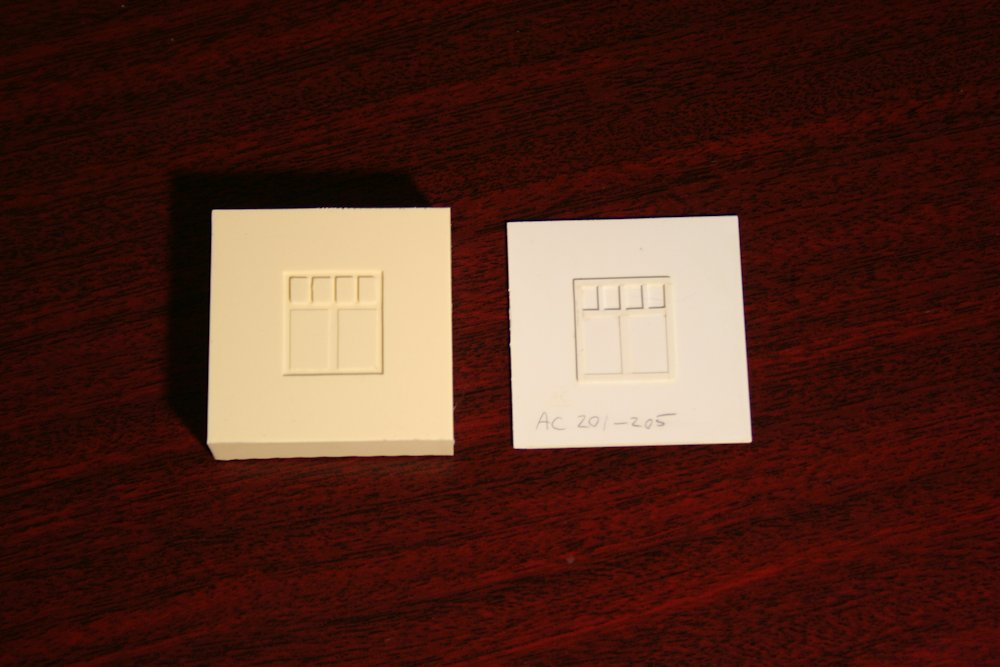
Rubber mold and scratchbuilt door master.