Painting Brickwork

I also got some painting done on my Wawa station build this weekend.

Wawa station was a light buff coloured brick on the lower story. The model was coloured by first spraying the model with grey primer and then drybrushing the brick colour over the grey, leaving the brick faces coloured and the mortar lines in grey. The brick colour is two different shades of tan-brown craft store acrylic randomly mixed together on a pallet. (Comparing to a printout of a screen capture image of a video, I picked out a pair of colours called “Honeycomb” and “Coffee Latte” – these were just eyeballed against the printed image.)

A little grimy weathering when the station is more complete will further blend the colours.

Wawa Station Roof Profiling

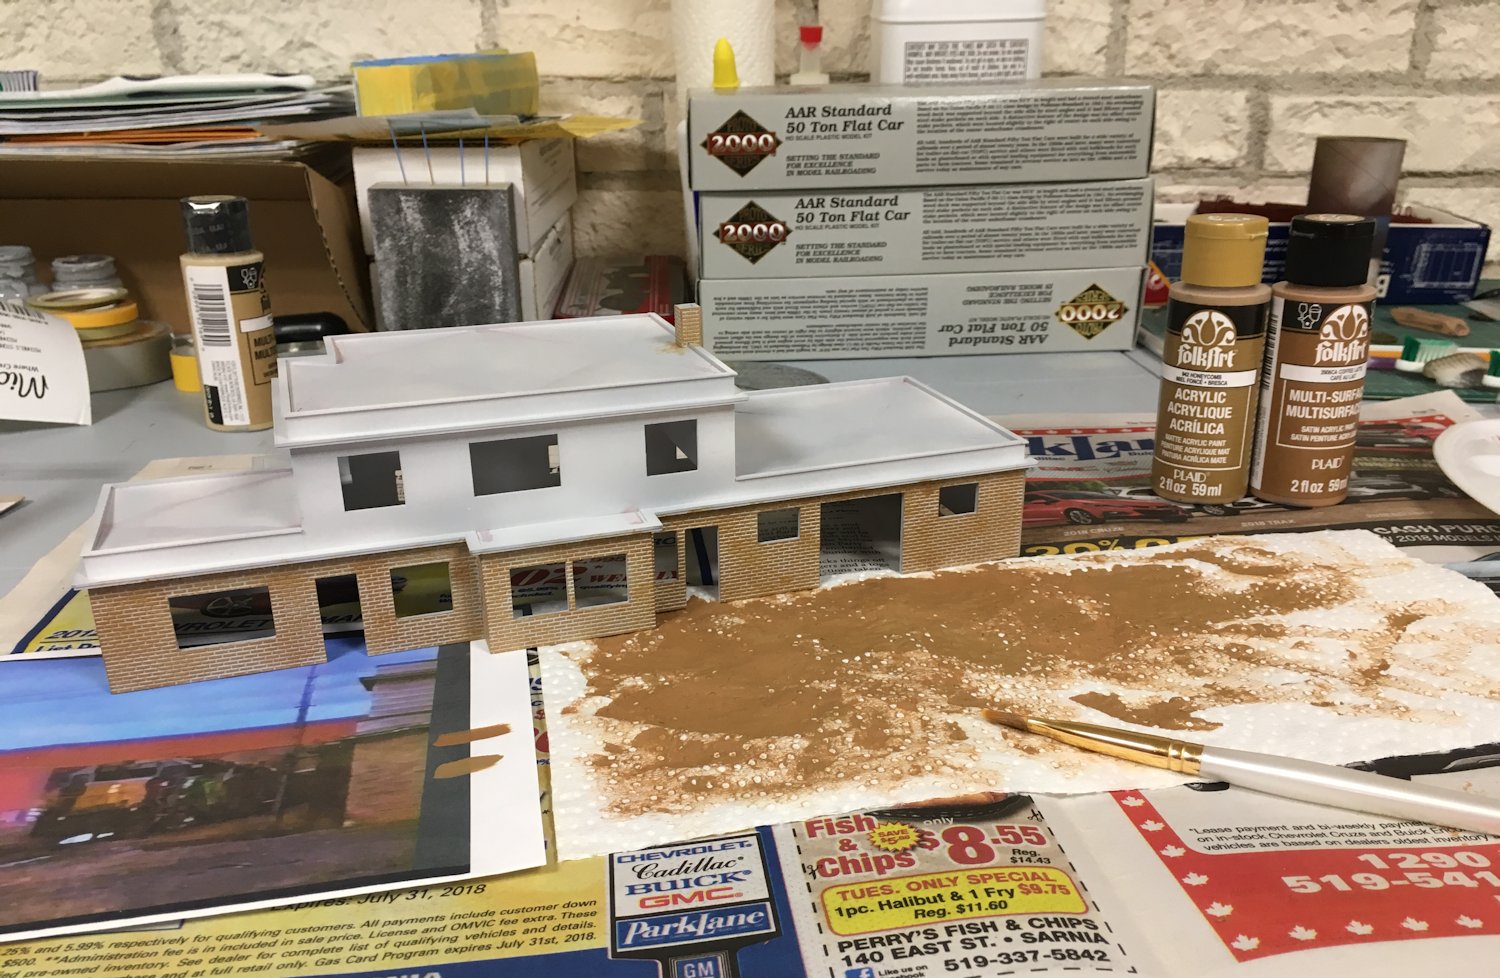
I’ve been taking advantage of free time over the long weekend (“Family Day” civic holiday in Ontario today) to tackle the next major construction piece of the project – the “flat” roof.

In actuality, the roof is not quite flat in order to allow rainwater to properly run and drain and not build up on the roof and cause rot, leaks or other problems.

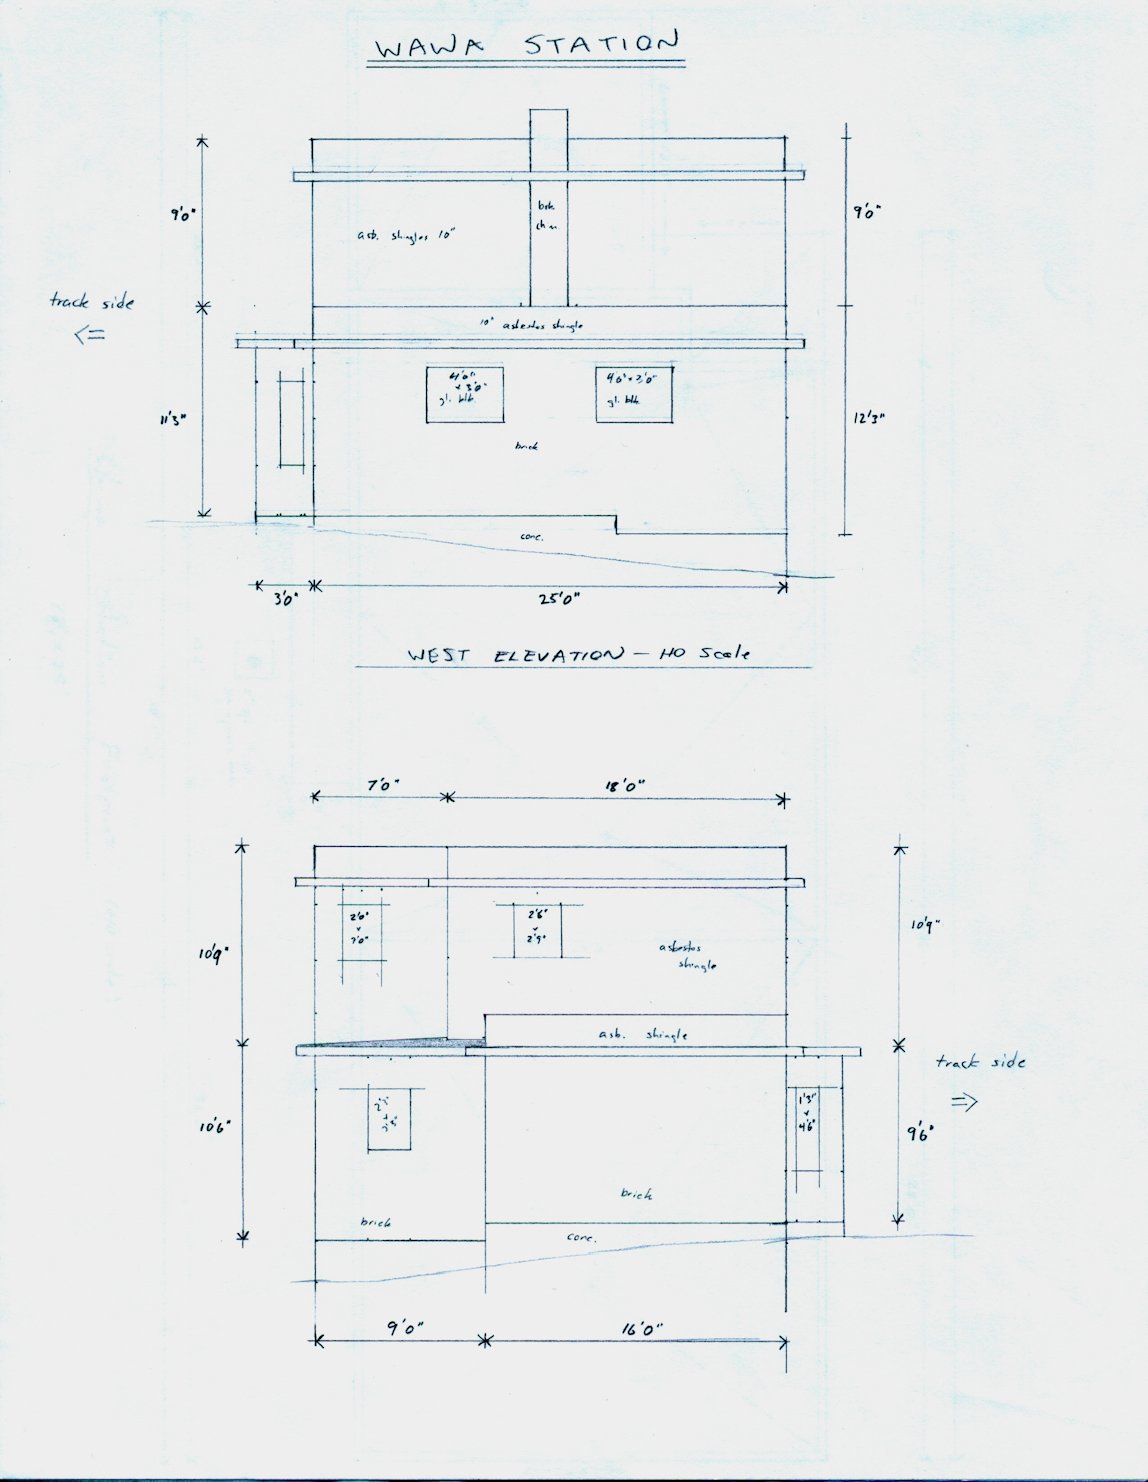
The architectural blueprints show how the roof slopes away from the edges to drains. On the upper roof over the second story a 2×6 board on edge establishes the height of the roof at the edge of the roof, sloping down to “zero” at the central drain. Construction details are: 7/8″ sheathing flat on the second story roof/ceiling joists, 2×6 support at perimeter (with successively cut down supports to allow roof to slope), 7/8″ top sheathing and finished with a tar and gravel surface.

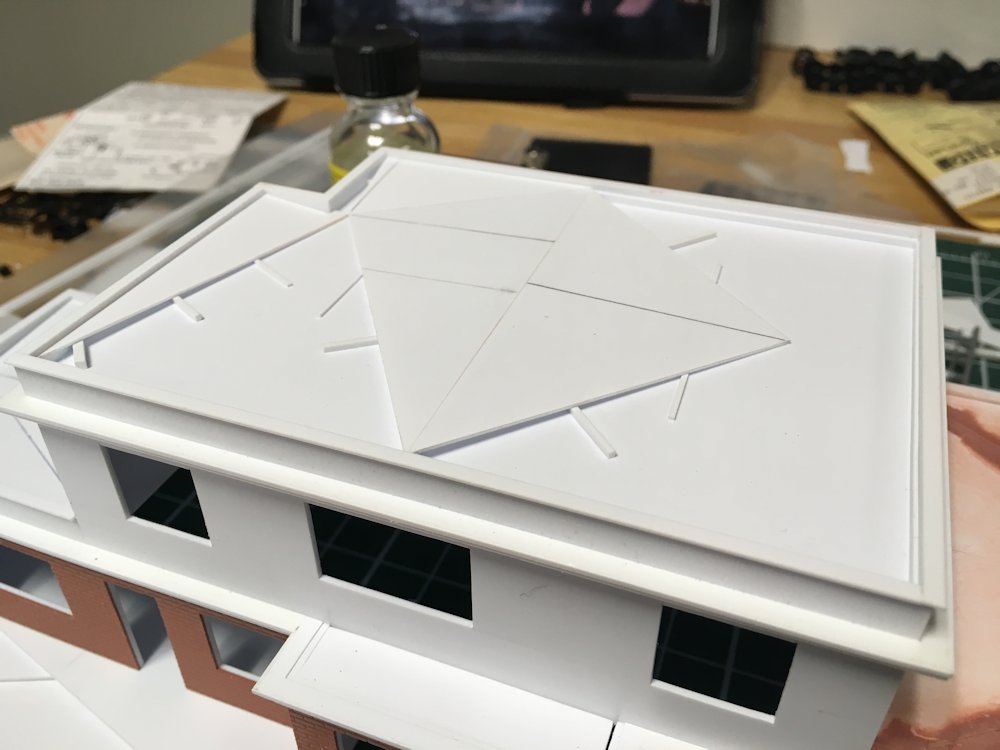
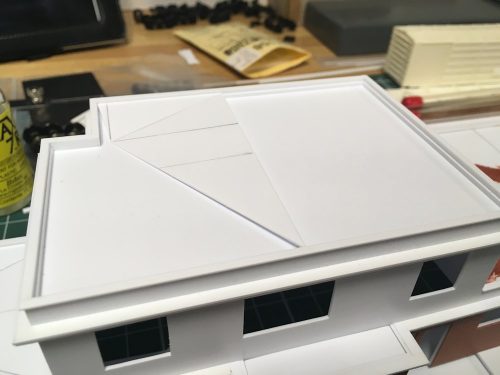
This first photo (above) shows the styrene 2×6 strip added all the way around the perimeter of the roof. The second story roof was actually divided into two drainage areas, so an additional pair of support 2×6 strips run down the centre of the roof dividing it into half.

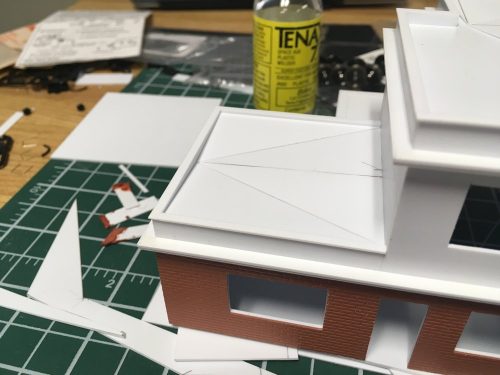
Roof sections made of .020″ thick styrene sheet being added.

Short pieces of .020, .040 and .060 styrene strip help support and reinforce the joints between roof sheets.

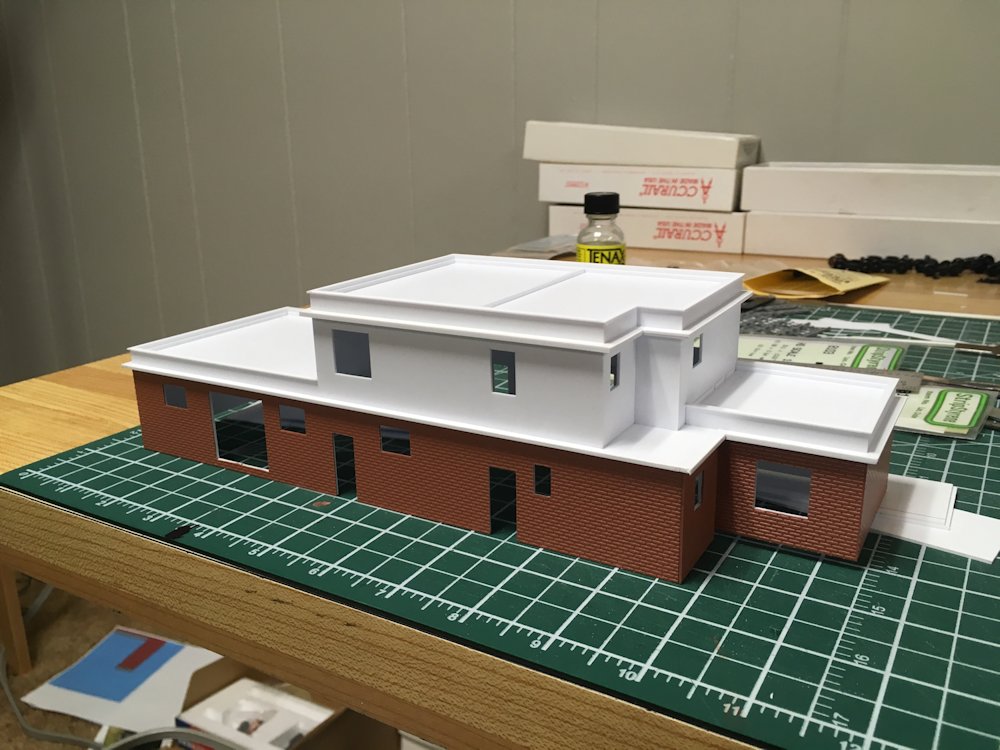
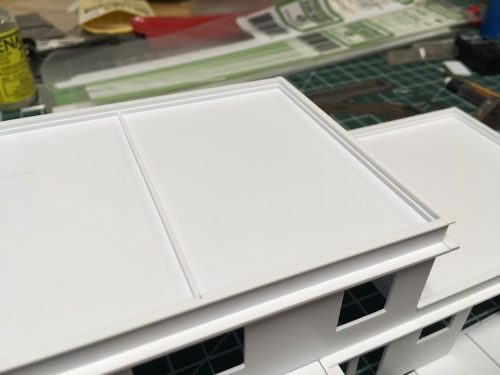
Roof sheets completed, and joints touched up with spot putty. The slope effect ends up actually being pretty subtle overall, but is obvious in the indented corner on the second story, as well as over the passenger waiting room wing where the drain is at the edge of the roof and everything slopes down to this point. On the large open area of the baggage room where the entire roof slopes to a central point, the effect is difficult to see without laying a straightedge on the wall caps, but the modeler knows it’s there!

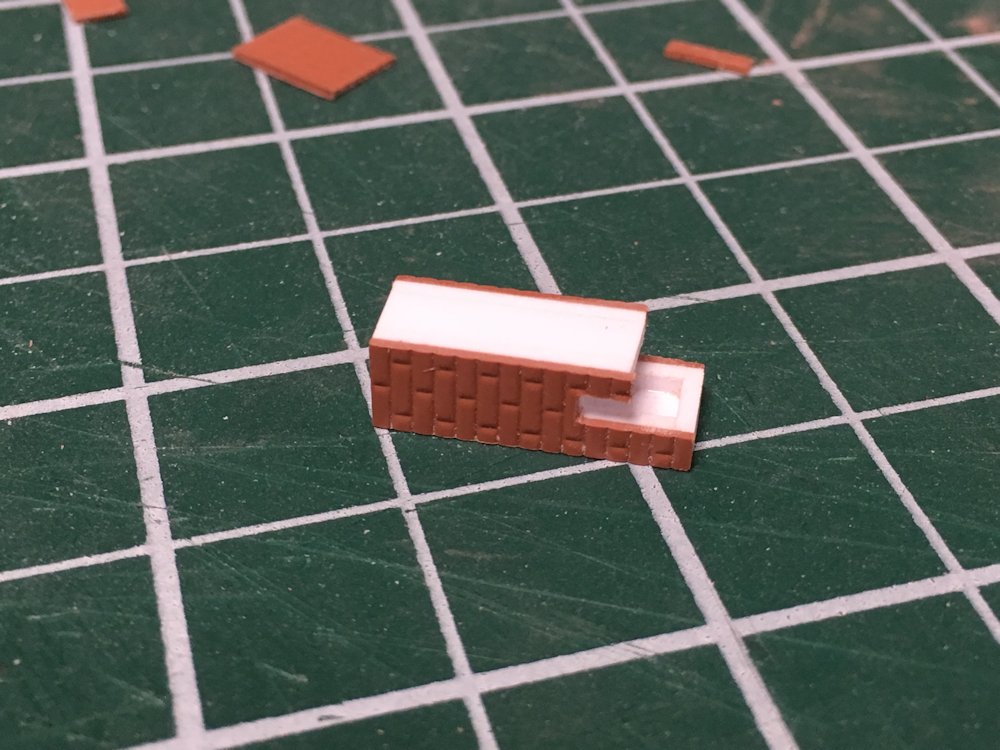
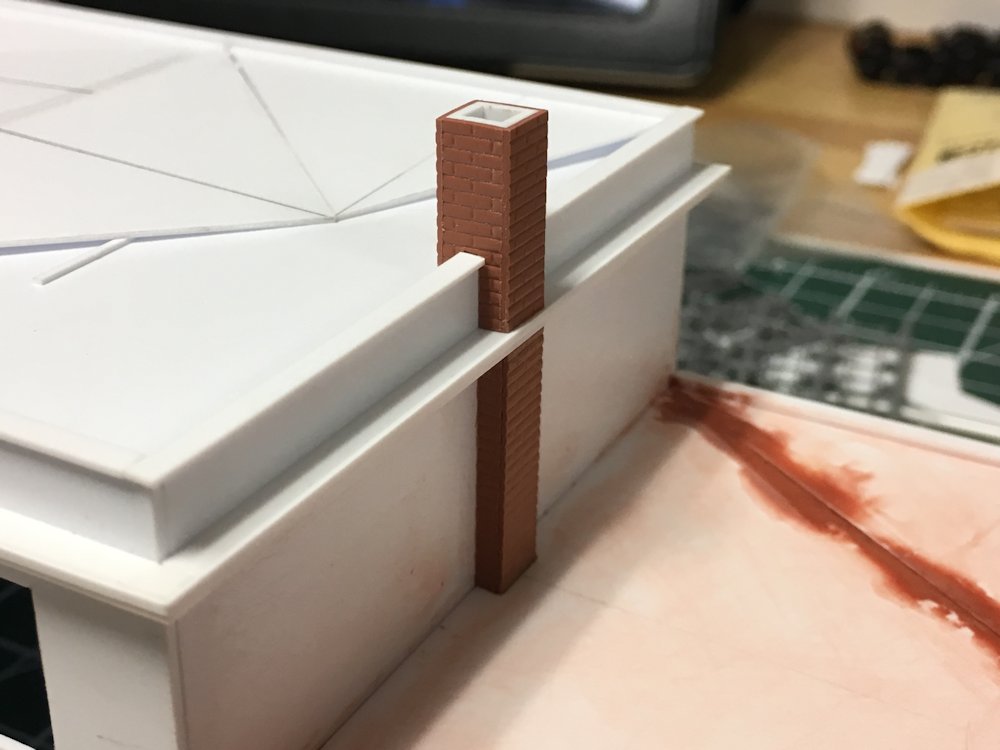
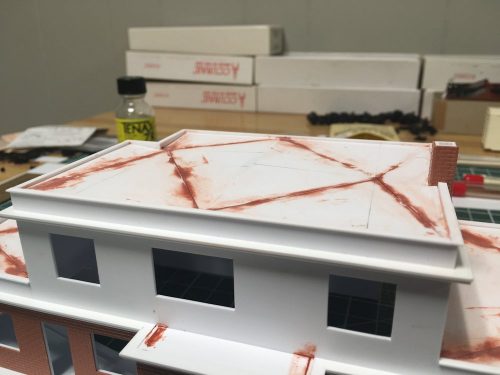
The final finish work to the roof will involve a bit of trimming around the chimney and wall caps, and the final surface will be a representation of the bonded tar-and-gravel surface of the prototype. This however, will likely be one of the last steps after painting the rest of the structure.

Wawa Station Brickwork

Construction progress on the Wawa station continues to move forward. A major (but relatively simple) step in the progress is applying the brick texture to the lower levels of the structure, as well as constructing the brick chimney.

In these first two photos, we see the brick sheet in progress of being added to the lower story of the structure. I had some sheets of Plastruct HO brick that I’ve been using on this station; similar brick sheet products are available from JTT, N Scale Architect and other sources.

The brick sheet is cut to size, window and door openings roughly cut out and glued to the structure core using liquid plastic cement. Then the windows and door openings carefully cleaned up with needle files.

Fashioning the chimney is slightly more interesting, as the core is build up from various “4x” (4×12, 4×8 and 4×6) styrene strips and then laminated with the Plastruct brick texture sheet.

Wawa Station Trimwork

The Wawa station build keeps moving forward with the detailing of the structure.

The station featured these decorative eaves around the entire structure below the tops of the walls. To represent the proper shape of the eaves, I built them up out of styrene strip. The core is a 4×12 strip on edge forming the base of the protruding eave, with a 1×12 laminated on top to achieve a proper thickness and cover the joints between the larger strip.

To represent the decorative edging, fascia strips of 1×6 and 1×3 are added around the outside edge after the main core is built up.

Starting to look a bit more like the drawings and photos, but still much more to do…