Tool Shed Doors and Trim

IMG_1568

A little bit more work on these sheds this evening and the corners and door frames are all trimmed, and doors cut to fit the opening.

The doors are cut from a sheet of simple scribed siding (Evergreen “Car Siding”) to fit tightly into the door opening. The door frame is trimmed with .010x.060″ strip.

Unlike the speeder sheds, I added all of the corner trim after assembly using strip styrene. To do this somewhat balanced, I used a scale 1×4 strip (.011x.044″) first on the sides to cover the exposed edge of the front wall sheet, and a .010x.060″ strip on the front and rear ends, overlappingĀ the edge of the side strip. This makes the overall angle of the corner trim about .060″ on the front side and .055″ on the side. Close enough to appear pretty square to the eye and look just right.

More Small Tool Sheds for the ACR

IMG_1567

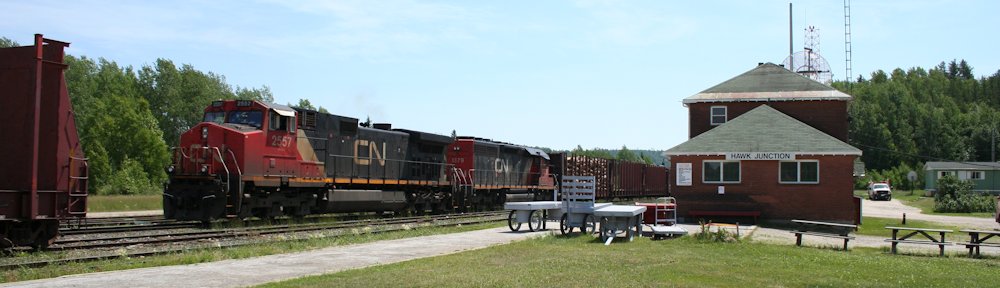
Here’s another grouping of small tool/materiel storage sheds, following a common ACR pattern. These storage sheds are commonly found with the section houses that dot the line at periodic intervals that once supported track maintenance workers. Below can be seen a classic example with the old section bunkhouse at Franz:

IMG_7615

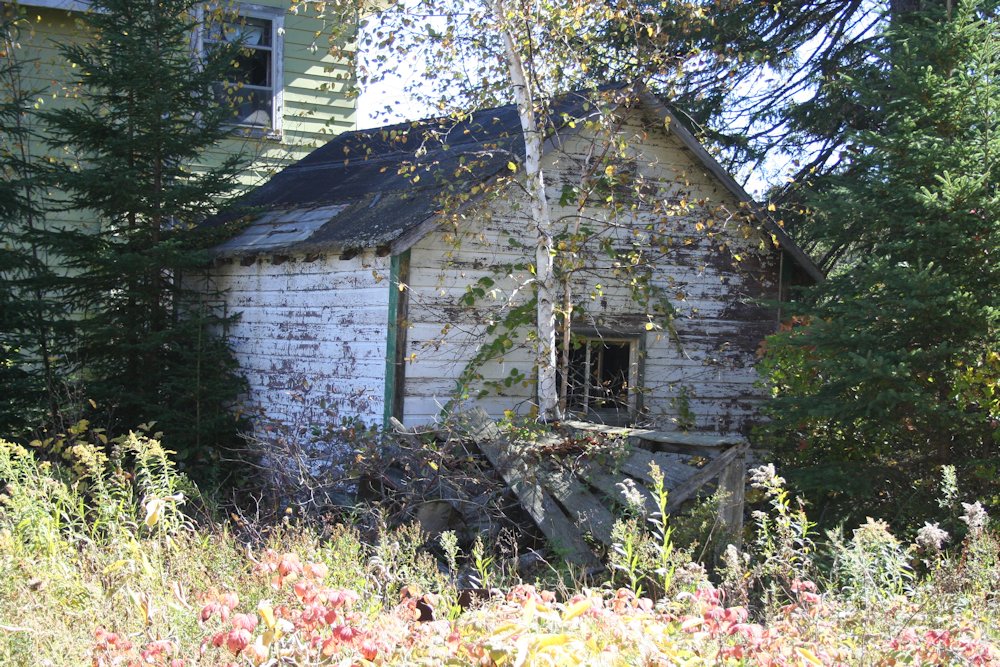
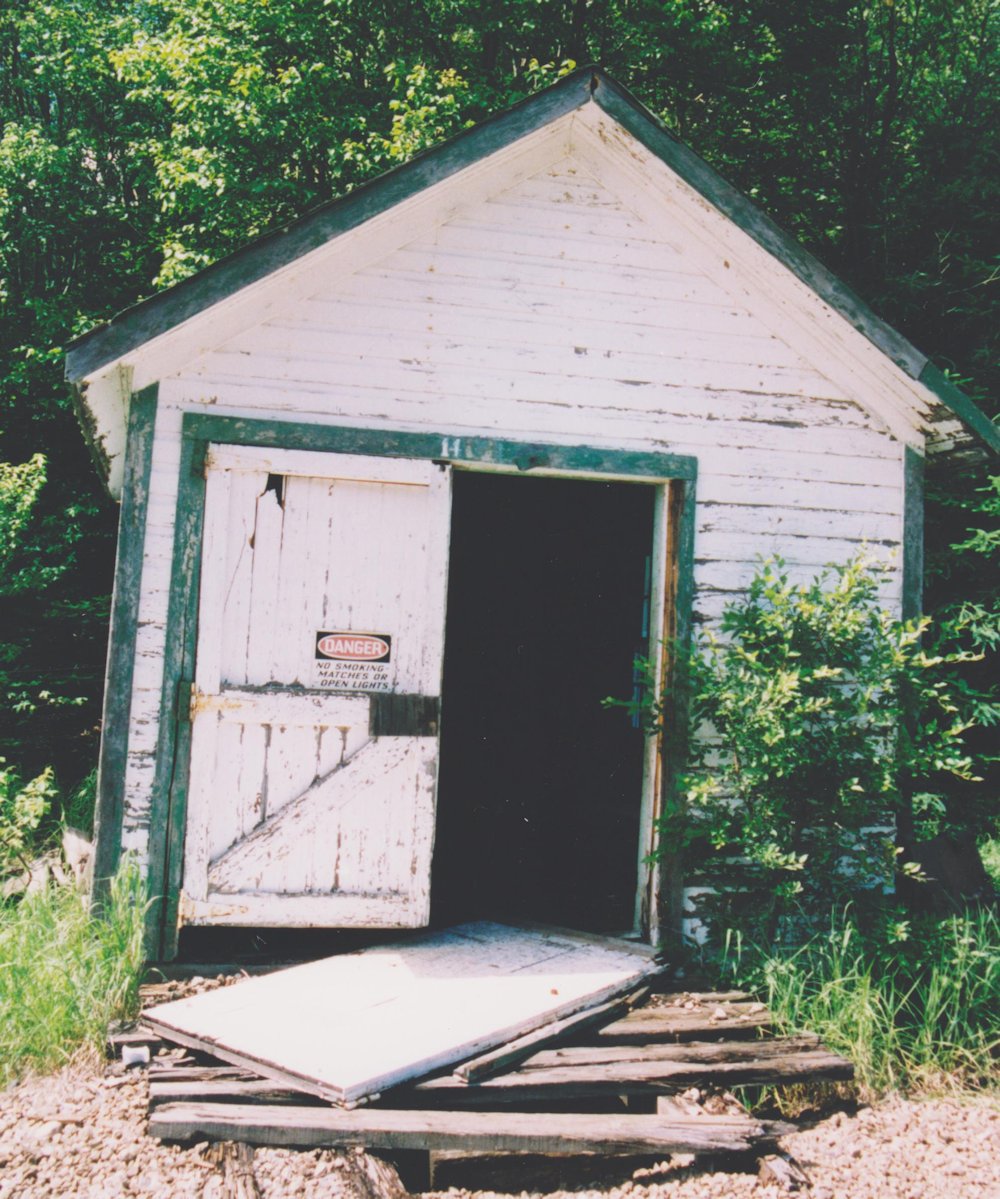
And this similar shed is almost obscured in the weeds and bushes behind Searchmont station, but appears to follow the same pattern and dimensions, although comparing photos of various sheds at different locations, some of the minor details like the position of doors (either centered, or offset to the left or right on the front of the shed) and windows (some on the rear wall as at Searchmont, and other examples showing a small window on one side of the shed) vary a bit from one example to the next.

IMG_8326

Nathan Brown of the Searchmont Station Preservation & Historical Society was able to send me the following measured dimensions of the existing shed at Searchmont, which were extremely helpful in laying out the pieces for these sheds. Thanks Nathan for the data!

Hey Chris,
Here are the specs on the shed behind the station.

Door: 4ft 10inches from left

2ft 6in opening

window:

4ft 4in from left

5ft 2 in from right

6ft 5in from the peak

3ft 5in from ground

2ft 8 1/2 in opening

shed size is 14 f 3.5 in x 12ft 4.5 inches

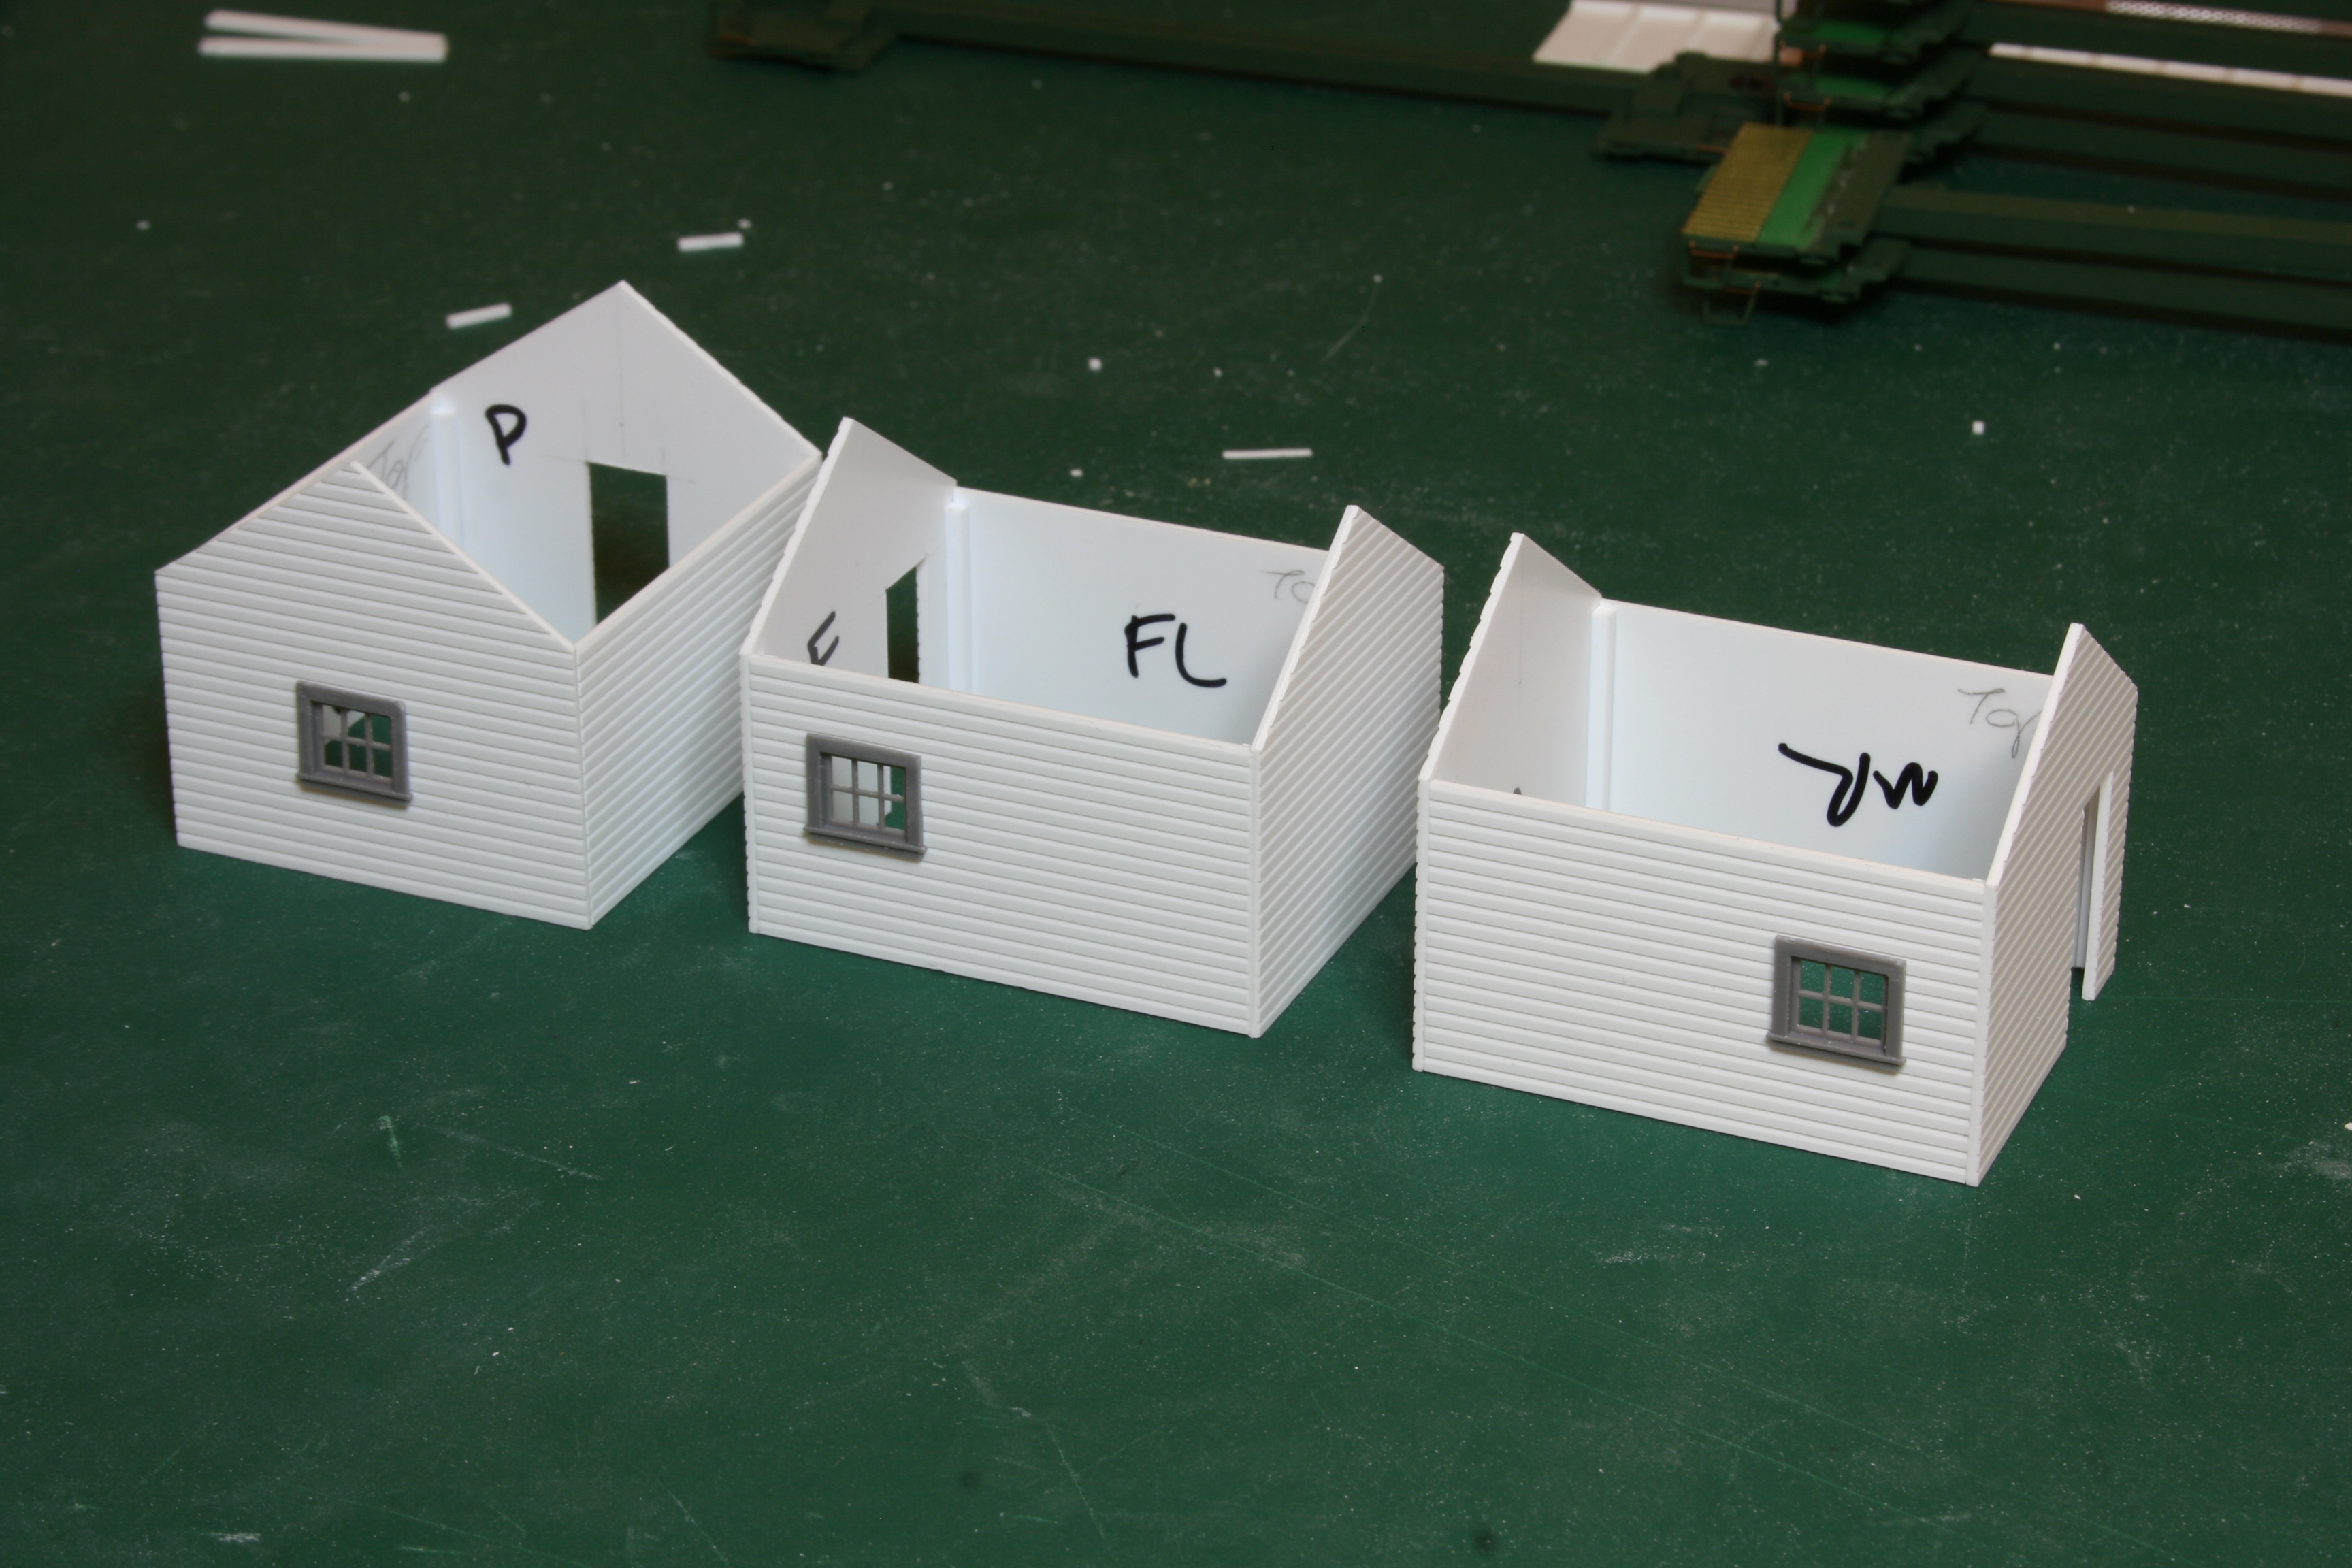
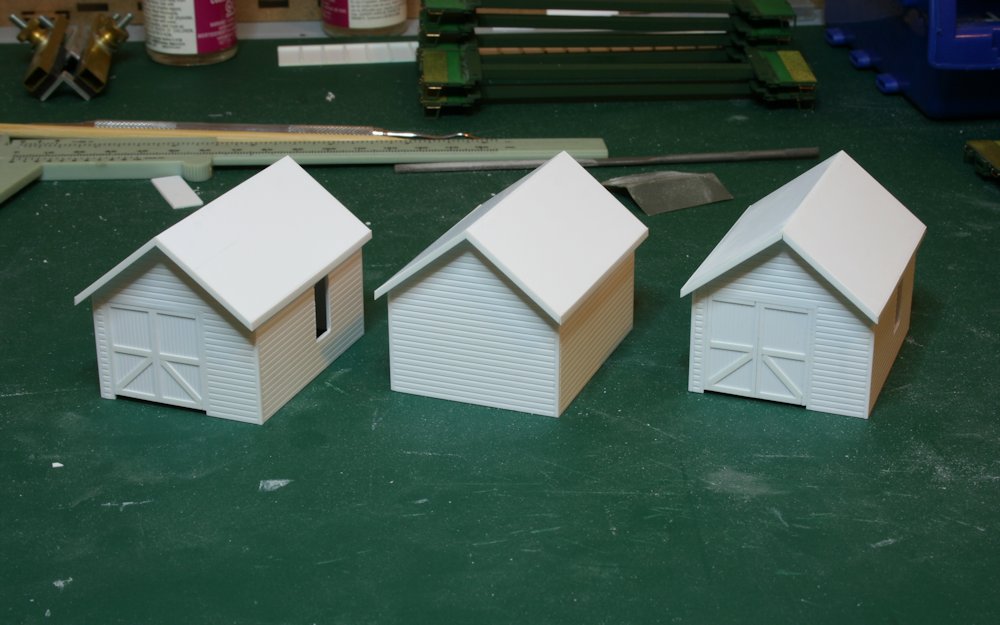
Armed with a collection of different photos of various section locations, and particularly of Perry, Franz, and Mosher, which locations I’ll hopefully include in my future layout, I was able to lay out three similar sheds. I don’t have shots that show all four sides of any of these structures but I do have at least one photo at each location showing the shed or part of the shed to know where the front door was located. Given the lack of photos of the rear and both sides, the small window locations were somewhat freelanced based on positions shown in collected photos of similar sheds at different locations. (Each shed has only one window, and on each of the three models below I located it in a different place, but always following precedents shown in prototype photographs.)

IMG_1565

Speeder Shed Roof and Fascia Trim

I had a chance this evening to spend a little more time on these speeder sheds and finish off the roofs and basic detailing.

IMG_1556

The roofs are cut from .040″ thick sheet, with the edges bevelled with a flat fileĀ and I trimmed the fascia around the edge .010″x.060″ strip for the angled fascia boards on the gable end, and .010″x.080″ to match on the sides.

Now they’re pretty much ready for painting and windows (on order). I’ll do the rolled roofing once the main structure of the shed is painted.

Speeder Shed Doors

I was able to get some more progress completed this evening on my trio of speeder sheds and the three buildings now have doors.

IMG_1555

The doors are made from a back cut from a sheet of Evergreen V-groove siding in an .040″ spacing, with .01″x.04″ top and side framing, and .01″x.06″ bottom and middle bracing, as close inspection of the prototype photo shows that the lower bracing is made up of wider boards than the top and side edges.

ACR From Blair 048 (2)

(Above photo courtesy Blair Smith.)

Below you can see the three model doors in various states of completion showing the sequence of construction.

IMG_1553

Speeder Shed Trim and Basic Assembly

I got a little more done on this project last night, and got the walls trimmed and assembled.

IMG_1551

To do the corner trim, I had actually cut the sides just a little short to account for the 4″ corner trim, and as the siding is .040″ thick sheet, I cemented .040″ square strip to the ends of the sides and represented the corner trim that way. The sides and ends are thus assembled in the normal way, with the corner trim becoming part of the side. You can see in the photo above that I used pieces of 6×6 to brace the inside of the corners.

To trim the door opening was done in much the same way, carefully filing everything square and cementing .040″ square strip around the inside of the opening. To ensure that the opening is the right size I measured and cut the blanks for the doors (which will be the next part of the project) and used that to make sure that I filed the overall opening to the right size. The door plus the trim framing should all fit snugly into the opening.

All that remains now of the basic shell of the shed is to file/sand the tops of the sides down to the gable profile for the roof, and to of course build the roof. Then add the doors and windows.