Steam Generator Roof Details

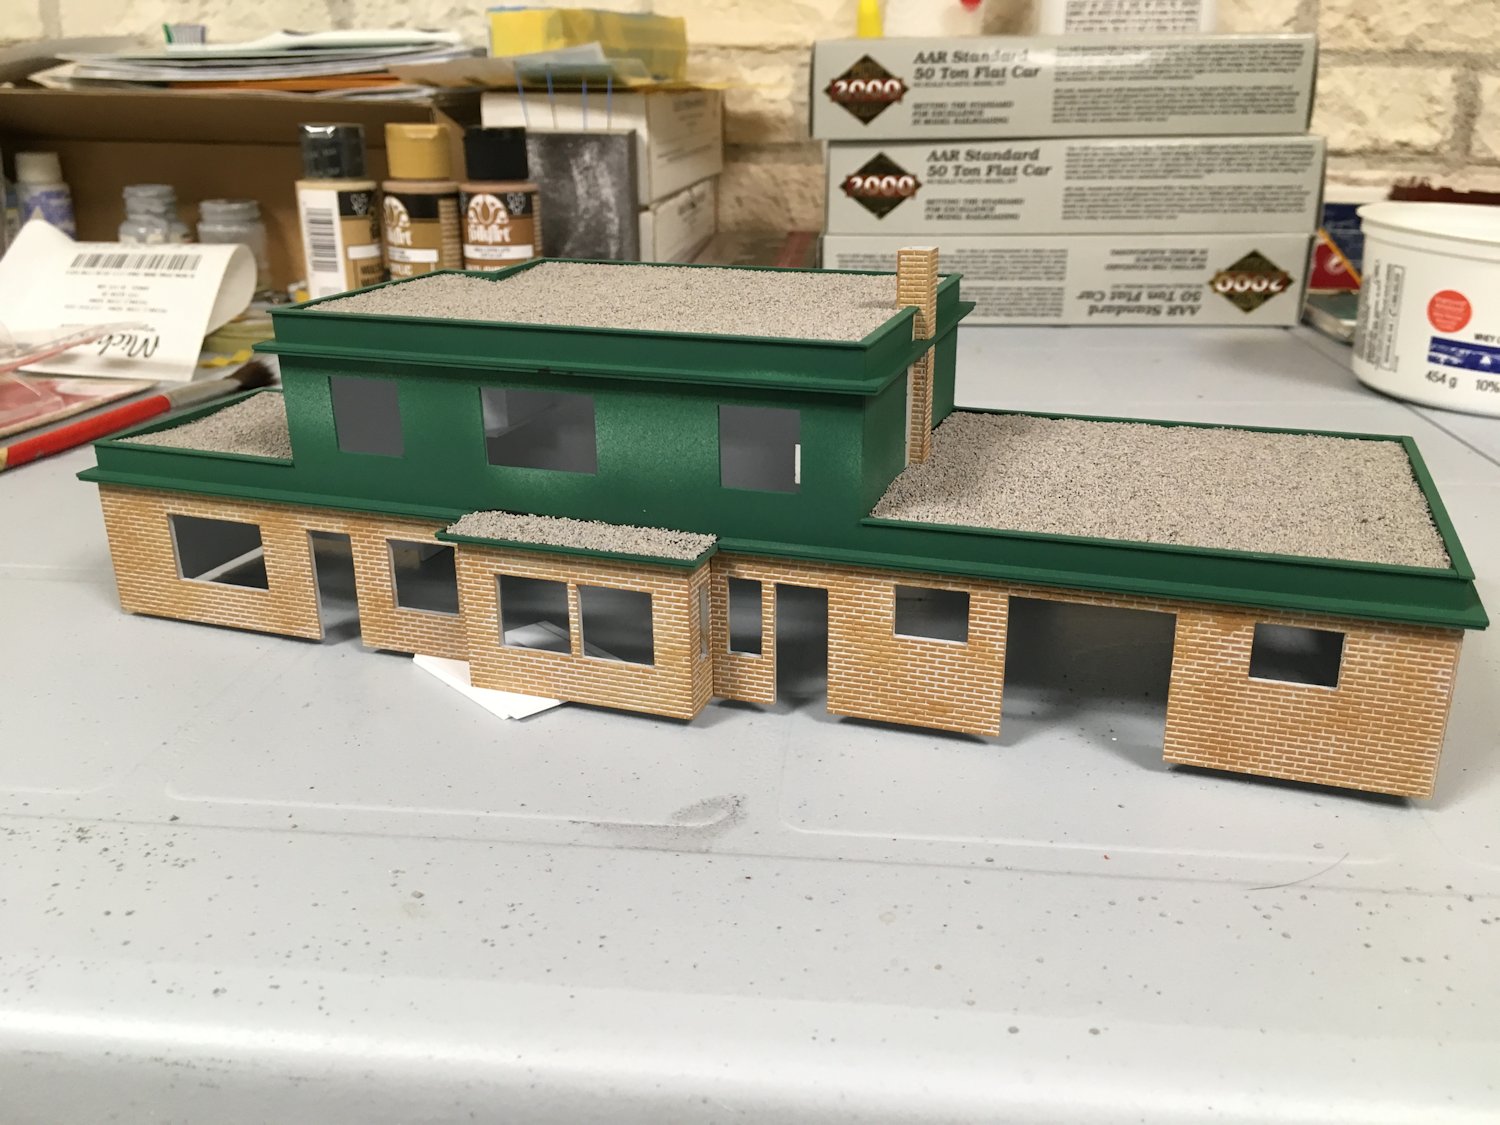
Catching up on some projects that I worked on a while ago, but haven’t posted to this blog recently. One of those projects is my pair of scratchbuilt ACR steam heater cars.

I assembled the bodies, and then these sat for a while while I worked out the roof details.

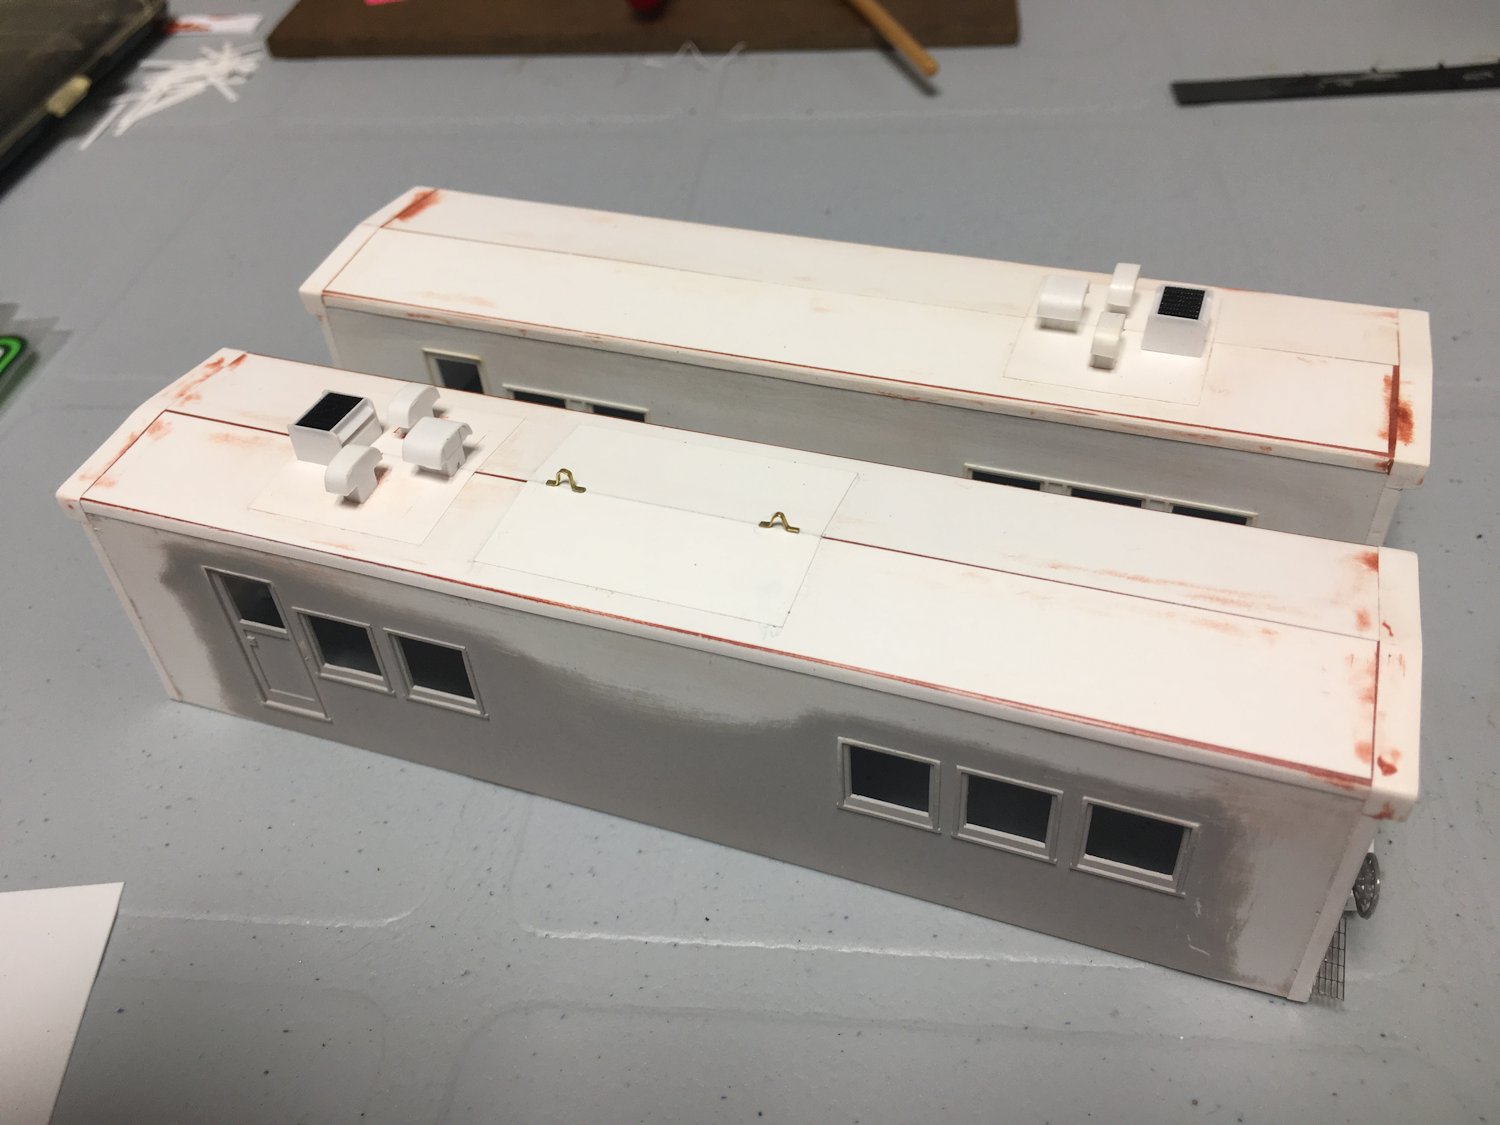
The main details are of course the various vents for the steam boiler. These are placed on top of a hatch on the roof. The hatches were made with .005″ styrene sheet glued to the surface of the roof. *Good* roof photos are hard to find, most of the detail is only worked out from side or oblique shots, but I have enough to go on to make out the size and positions of the hatches. Photos also seemed to indicate the one car had an extra hatch in the middle of the roof (not sure if and/or when this was added to the car, so it may or may not have been there in the mid-eighties, but it makes for a good visual variation). A couple of bits of flat brass wire formed into lifting loops finishes off the middle hatch.

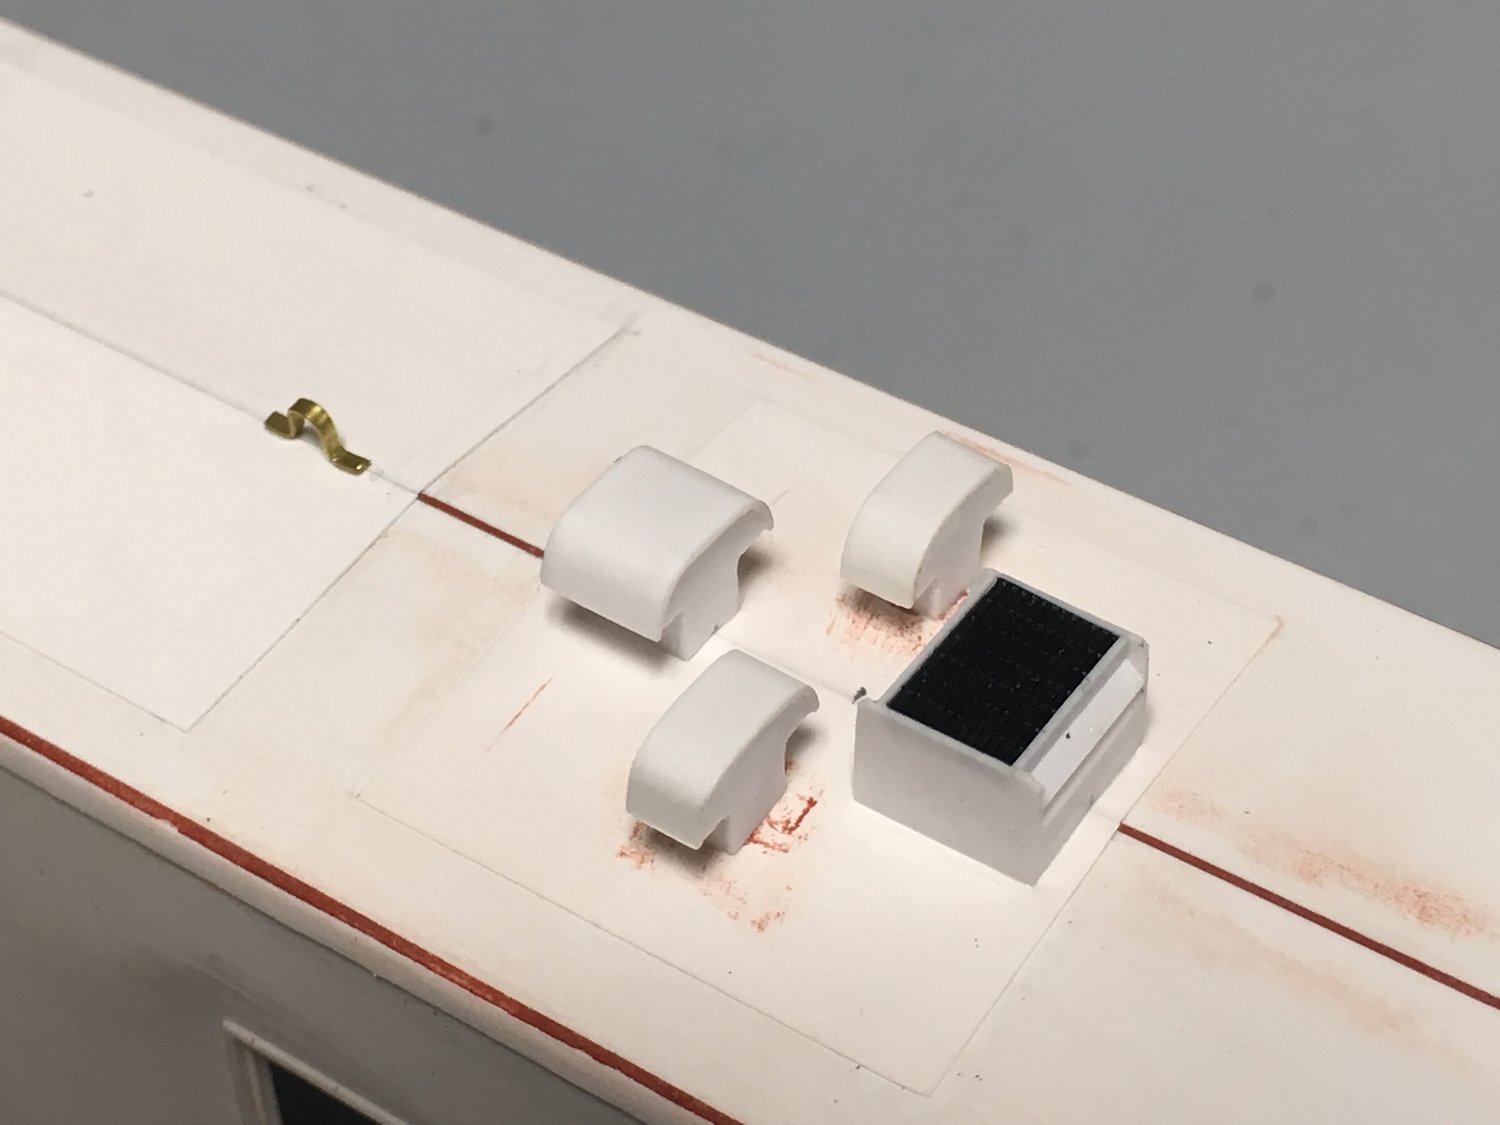
The actual steam vents were an interesting challenge to build from .010″ styrene sheet and strip. The mushroom-shaped stack ends were carefully cut and filed to shape, then assembled with simple sides, and then the top was added by curving strips cut from styrene sheet over the top. Liberal use of styrene cement and patience holding the part in place while the solvent evaporated and dried was involved.

The boxy vent was fairly simple by comparison, assembled from assorted .010″ strip and sheet. The “grillwork” on top was cut from a scrap piece of walkway material in my junk/parts box.

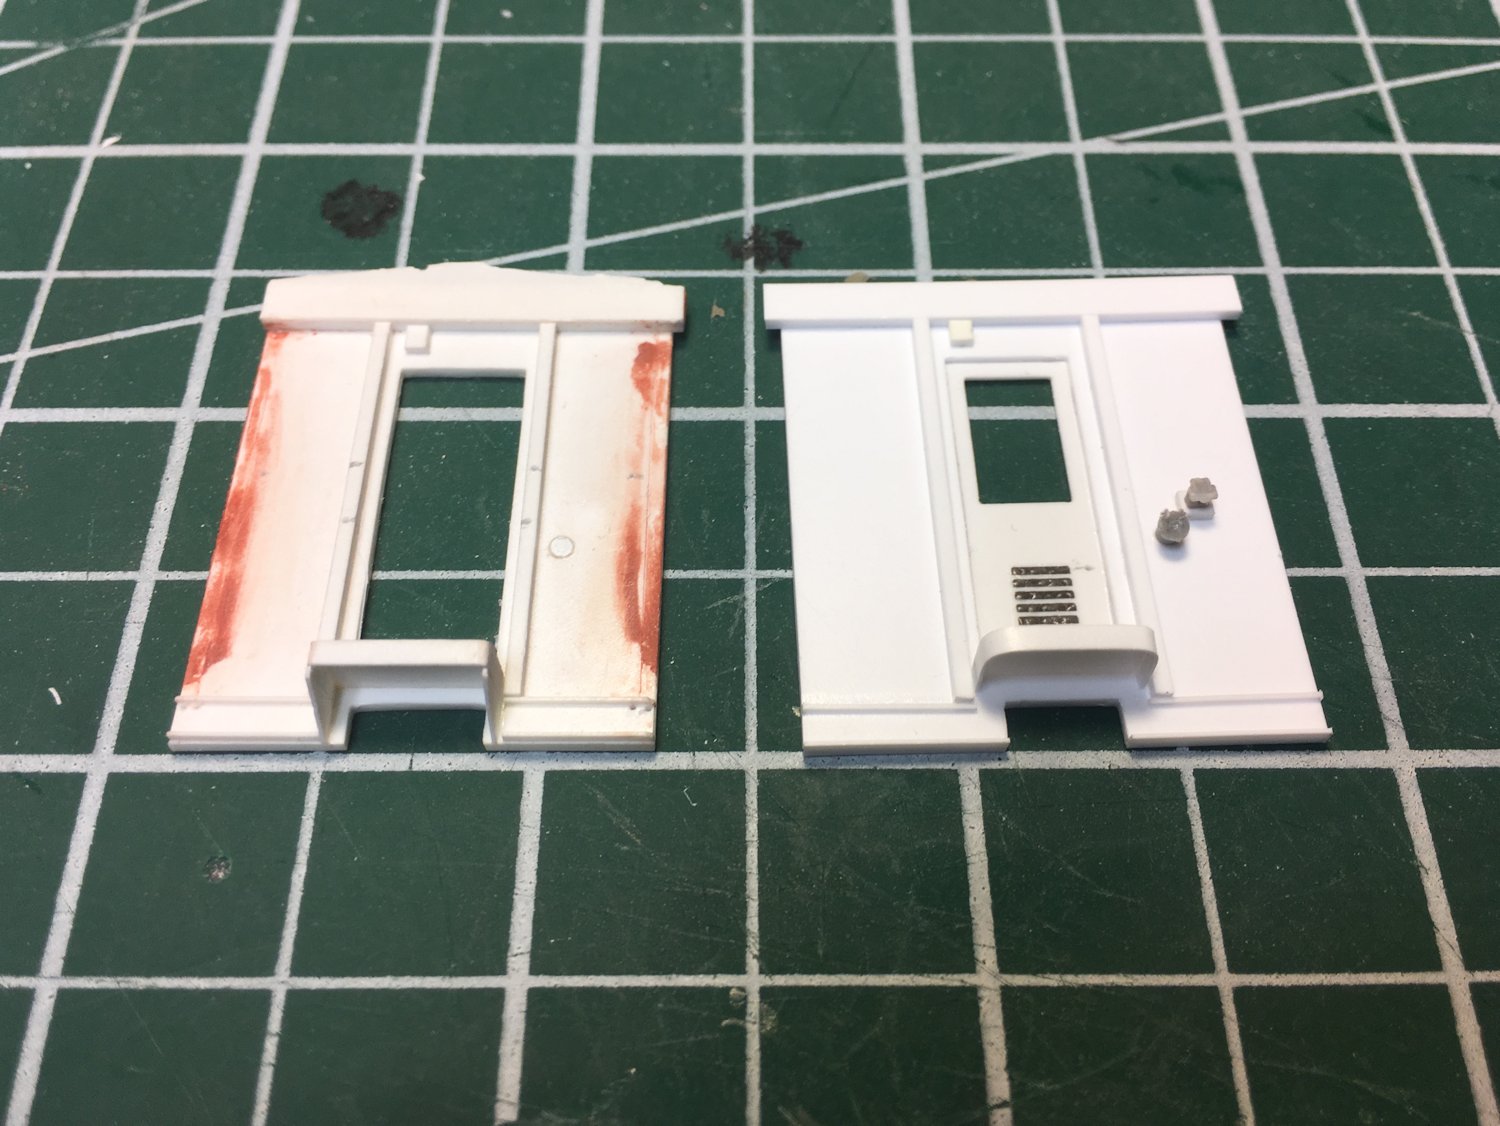
There’s not much more to do on this pair of cars any more before painting them, but I have a few other passenger car related projects in the works as well, and I’ll probably hold off on the painting for a bit yet until I can put a bunch of them into the shop. Need to get some appropriate shades for the grey and maroon paint…

Steam Generators: One step back, one step forward

Sometimes a project takes a step back before going forward. It can be easy and natural to only share successes, but mistakes are also a source of learning.

The Algoma Central’s quartet of home built steam generator cars were built in 1951-52 using the frames of old 40’ steel braced wood boxcars. These wood boxcars were a pretty good match for the Accurail car and I have a trio of these decorated for the AC using CDS transfers. In building these scratchbuilt heater cars, I built them to fit the same Accurail 40’ boxcar underframe, since the real cars were built on the same boxcar frames.

Except…

With the .040” styrene walls of the scratchbuilt body married to the Accurail frame the overall width of the new body was only equal to the width of the wooden sheathing of the original box and did not take the width of the car bracing which would have been attached to the outside of this. The original scratchbuild was FAR TOO NARROW and at least a foot or more narrower than the other passenger cars they will run with.

This major error has really bothered me, as while otherwise the cars built up quite nicely so far, the too thin bodies can’t be unnoticed. So being unhappy with its current state, the project was shoved off to the side for a while.

Teardown and disassembly of assembled car to salvage the sides.

This past week I pulled the cars from the back of the workbench and resolved to correct the mistake and move forward on the project again. The sides turned out well and I didn’t want to throw the entire project out and re do that effort, so the ends and roof were cut away and the corner trimwork removed with a razor blade. A few minor pieces such as the doors and aftermarket detail parts for the electrical plugs were removed from the original ends and salvaged for reuse. New, wider versions of the ends were fabricated and reassembly of the cars is now well on its way.

Old (left) and replacement (right) car ends.

New underframes will have to be scratchbuilt next, and then hopefully I can continue with fabricating the roof vents and other details for the generator, which I had started but put aside when it became obvious I didn’t want to continue with the original bodies.

Scrapped steam generator components.

More to come hopefully, now that this project is rolling again…

Rollup Baggage Room Doors for Wawa

The baggage/express room in the Wawa station featured 8’x8′ roll-up freight doors on both the track and street sides of the station. I scratchbuilt these from a .020″ styrene sheet back and .010x.030″ strip for the grid pattern on the door sections. The outer door frame is .020x.060″ strip on edge.

Doors and corner posts (angle bits in the middle) airbrushed Sylvan Green. The corner posts are made from a 2×2 spacer to match the door frame and a 1×6 front piece with a corner filed off to a curve.

Front (track side) baggage door and corner posts installed:

Wawa Station Siding

And Wawa station finishes another step forward to completion.

While the lower story was brick, the upper level of the structure was clad in cedar-grain asbestos shingle siding. I reproduced this with strips of grey cardstock. It took a little while, and my technique rather refined as I went along, but I’m generally happy with the result.

A number of ACR structures used this type of shingle siding, so expect to see this sort of finish again on other future projects…

Tar and Gravel Flat Roof Surface

A bit more work with paint and gravel and the roof of the station is now surfaced.

As noted in a previous post where the slope of the roof was built up from styrene sheet, the “flat” roof is not, in fact, actually flat but does slope in order to provide drainage. That slope is in fact there, although with the gravel surface added, it almost completely visually vanished, except in that one subtle spot in the corner where the roof actually slopes against the top of the wall. (That reminds me, I need to go in yet and actually add a couple of round plugs to represent the drains, as well as a vent pipe for the toilet plumbing. All easy bits to add…)

Actually flat or not however, the technique for making the tar and gravel roof is pretty simple. After applying a thick brush coat of black paint (just regular flat black acrylic) and while the paint is still wet, sprinkle on a liberal coating of gravel and let sit. I used some fine ballast which I sifted to make sure I was only left with the finest grains. The effect is good, however it’s still a bit coarse actually for a gravel roof. I may yet scrape this off and re-do it with finer hand-sifted natural materials – I’ll have to sleep on that idea yet for a bit – but the technique is still sound.

You’ll also notice I sprayed the Sylvan Green colour for the trim before doing the roof, as the trim borders the roof surface, and that would be more than a little bit impossible to mask and spray after the fact. The bold green colour on the upper walls though will not last – only the trim is actually this colour, and light grey siding is yet to be applied to the wall surfaces, so the station will have one last drastic colour change for completion.