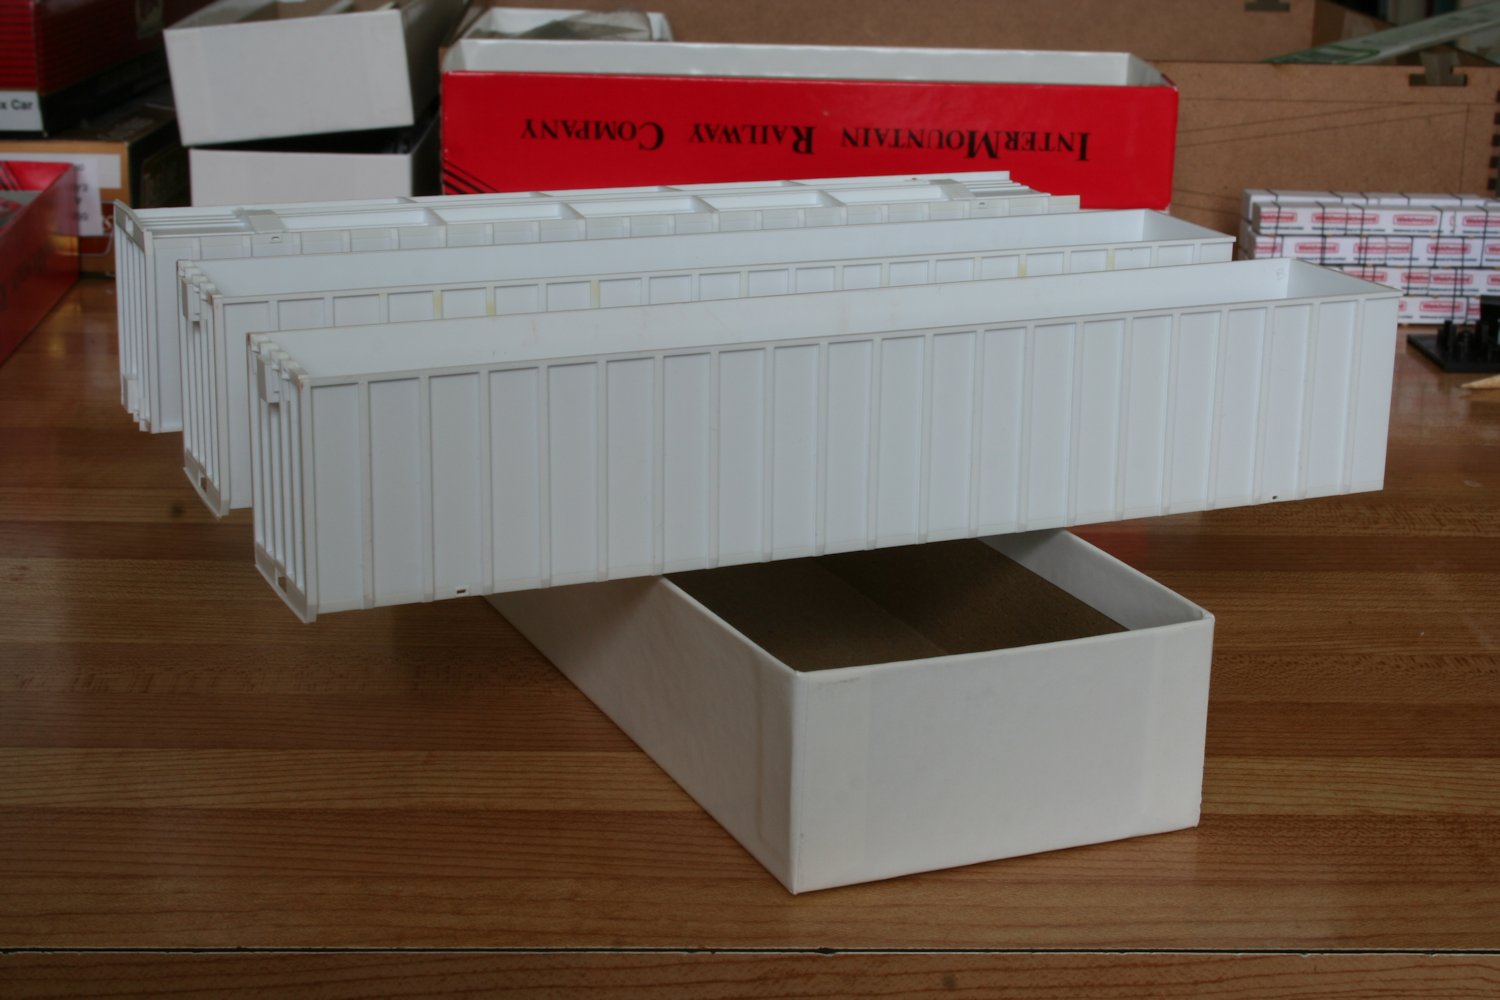
Enjoying a rare weekend home by myself with no other major plans, apart from taking the opportunity to spend a few hours on in the nice weather on Saturday afternoon trackside here in Sarnia, this has been my weekend project: attempting to tackle a scratchbuild of one of the Algoma Central’s big 61′ woodchip gondolas.
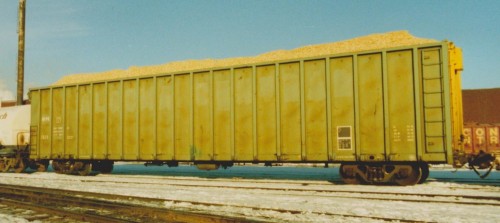
The Algoma Central received two groups of these cars from National Steel Car in Hamilton, ON. The first group, comprising 90 cars numbered ACIS 1401-1489 was built and delivered in 1974. The second group, delivered in 1981, were the 23 cars of series AC 1501-1523. The photo above, courtesy of Blair Smith, represents of the 1500-series cars in the early 1990s, after being sold off to Newaygo Forest Products.
While outwardly similar in appearance and dimensions, the two series did have slight differences, most notably in the design of the both the door and the fixed end of the car. While the 1400-series cars had a stamped sheet metal end in the fashion of NSC boxcars of the time (familiar to Canadian modellers as a late “NSC-3” type end), the 1500-series cars had an end fabricated from steel channel and other standard structural bar shapes, again much like the more modern NSC boxcar designs of the late 1970s-early 1980s.
Similar or identical cars to the 1400 series were built for CN and Pacific Great Eastern/British Columbia Railway during the 1970s, and cars similar or identical to the 1500 series were built in the 1980s for Quebec-Ontario Paper (QOPX) and Euro-Can Pulp & Paper (EURX).
Much of the actual physical work shown below was done Sunday afternoon and evening, while I spent a good time on Saturday evening revising notes, figuring measurements and making new construction notes and sketches to help plan the build.
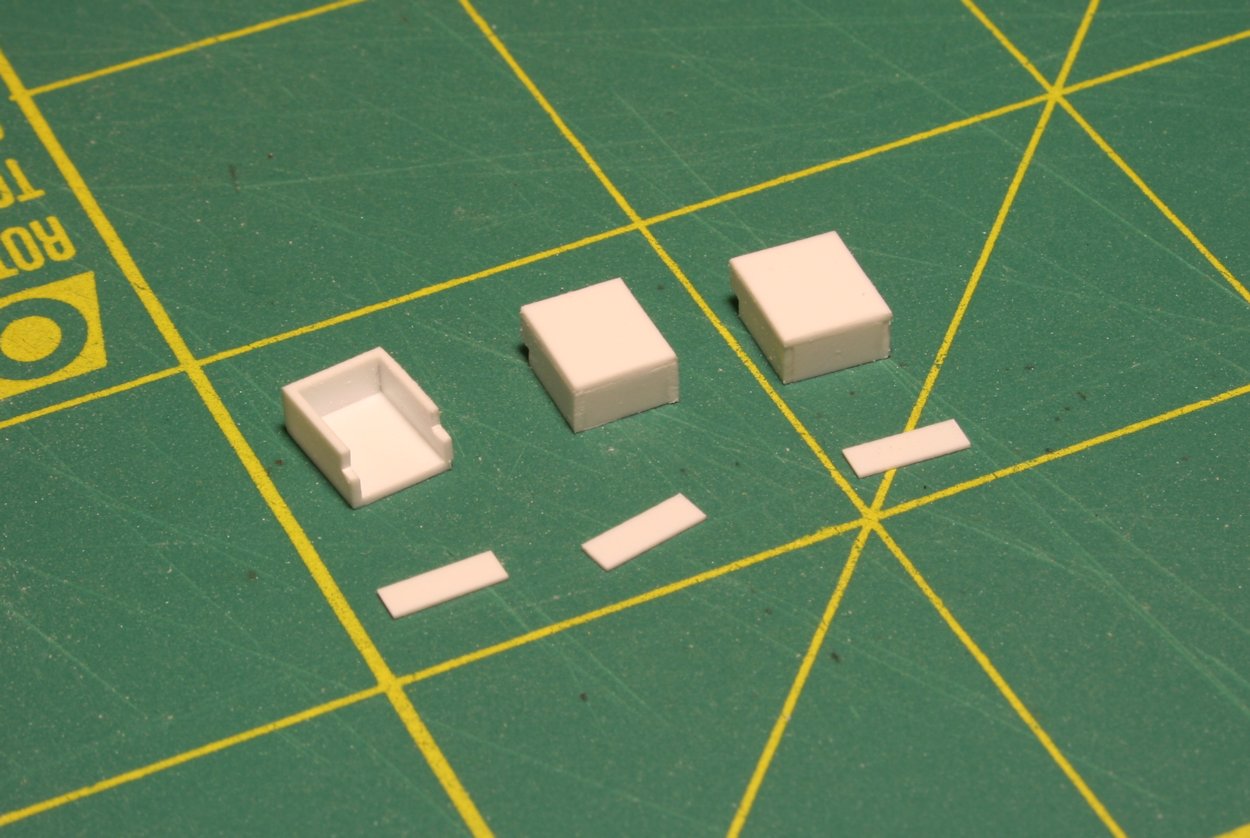
I actually took an initial crack at scratchbuilding a 1500 series car (as the fabricated end with its square welded shapes is easier to model) several years ago, building a couple of test sides, and end and about half of an underframe. I consider both side attempts tests that will not be reused, although the end will definitely find its way into a finished car. Parts of the unfinished underframe have warped over time, so it too will not be reused, but provides some material to learn from, and revise for my next attempt.
After drawing up some new sketches and measurements for the car body Saturday night (I may decide to scan and share these notes and (sketch, not to scale) drawings later for other wanting to model these AC cars or similar cars like the QOPX or EURX cars, although I may revise them slightly still as the components are actually constructed.
While working out the measurements and spacing I built two more test sides, scrapping at least the first attempt with a spacing too narrow to evenly do the entire car side. You will be surprised how significant a difference of 0.003 inches can be when trying to evenly space out 20 side posts over a 62 scale foot car side. Let that sink in the next time someone complains about “rivet counters” making a big deal about a scale foot error in some production model (about 0.12″ actual) – when that error is over a dimension that should be about 10 scale feet, that’s a 10% error and that eighth of an inch *is* quite noticeable when placed next to something that is actually correct. (I’m looking at you, Canadian Hobbycraft RS-10.)
Anyway, after refining my measurements with throwaway test sides, I cranked out a couple of production sides and another end.

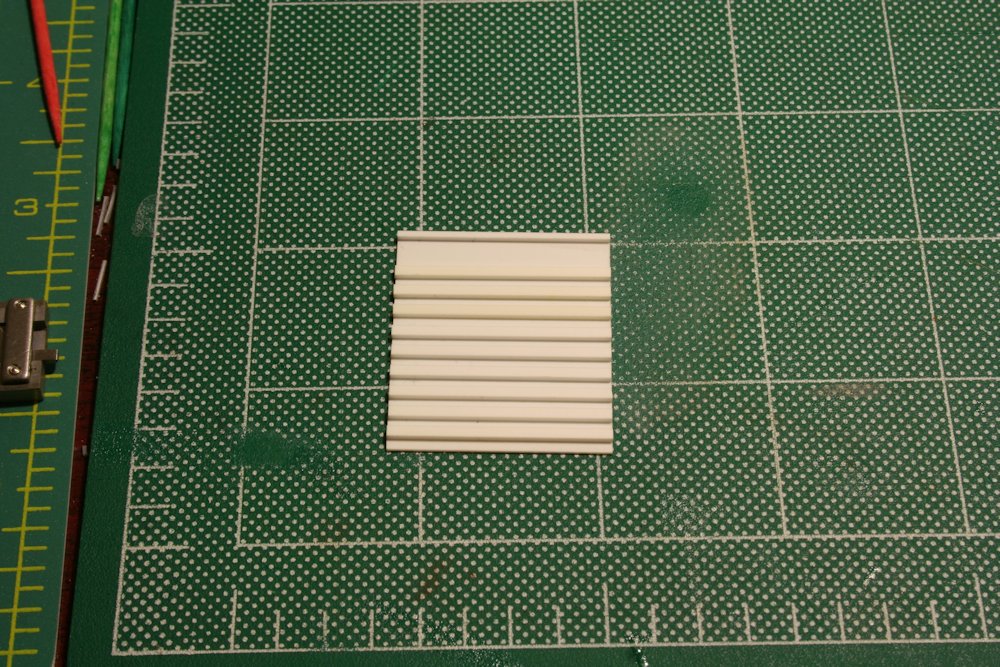
When evenly spacing ribs over a long car like this, absolute precision is required. I cut a spacer block out of styrene sheet and using my dial calipers and a fine file made sure it was exactly the precise width I needed. Also use several small squares to keep everything in alignment and make sure that the tiniest imperfection in the spacer block doesn’t progressively cause subsequent ribs to ever so slightly start to angle.
The photo above show my basic approach, using the spacer block to set the correct spacing of each successive rib, and using the mini-square to keep things, well, square. Using a very fine brush I apply a *very* small drop of liquid plastic cement to the top and bottom of the rib base; apply right along the edge and the cement is drawn into the joint by capillary action. With a little “tack weld” to hold the rib in place, pull away the square and carefully run the brush along the exposed edge to cement it down, and then follow on the other side after removing the spacer.
Using an extremely fine brush is absolutely key, you want to run the tip of the brush right along the edge of the joint and touch the flat surface of the styrene sheet as little as absolutely possible, and only apply sparing amounts of cement to the joint, the brush can’t be too wet or a drop of cement could mar the surface.
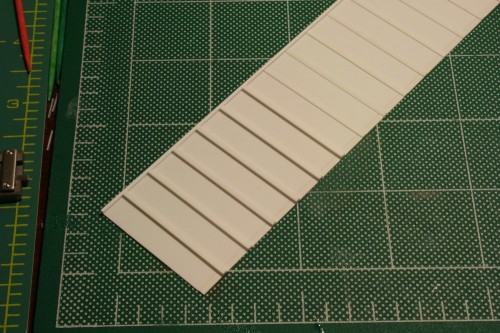
The side ribs on the prototype NSC cars have a small flange along the base of the rib where it is welded to the side. It’s a subtle feature, but I replicated it by making each vertical side post out of two pieces of styrene strip: a .010x.080″ bottom strip for the flange, and a .030x.060″ strip on top of that for the main rib, giving the overall effect of a 4×6 rib with a small fillet along the base. You can see in the above photo the first half dozen main ribs applied on top of the base strip.
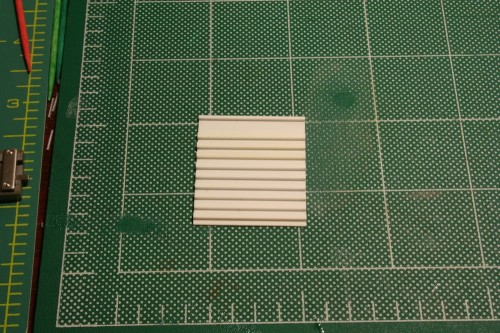
While the sides are certainly far from the most complicated part of this project, the ends of the 1500 series cars are by comparison simplicity itself. Simply a (scale) 9’3″ x 11’0″ rectangle of .020″ styrene, the top chord is a 4×4, and the rest of the ribs are scale 4×6 strip with a 6″ spacing between the ribs (simply use a scrap piece of the 4×6 strip as a spacer to space out the ribs from the bottom of the end, adding a total of 9 ribs to the end.
The door ends will be a bit more complicated and detailed, but I have some designs and dimensions sketched out, and will hopefully be attempting one this coming week, although I may be short on a couple of specific sizes of styrene strip and may need to be restocking a few things in my raw materials inventory on my next trip east.