Wordless Wednesday #103
Image
6
Today is the official first day of operations for Watco’s new “Agawa Canyon Railroad”.
The last CN train L572 to leave Hawk Junction departed in the evening of January 30 for Hearst. While CN will still be operating between Hearst and Oba, how that will be operated appears to be in a state of flux still, with those details to be confirmed and ironed out.
No local word on whether ACR trains have begun operating north of Sault Ste. Marie yet, but various news reports over the last few weeks have indicated the new company will employ 27 people and operate between Sault Ste. Marie and Oba with eight locomotives – six SD40-2s and two GP40-3s.
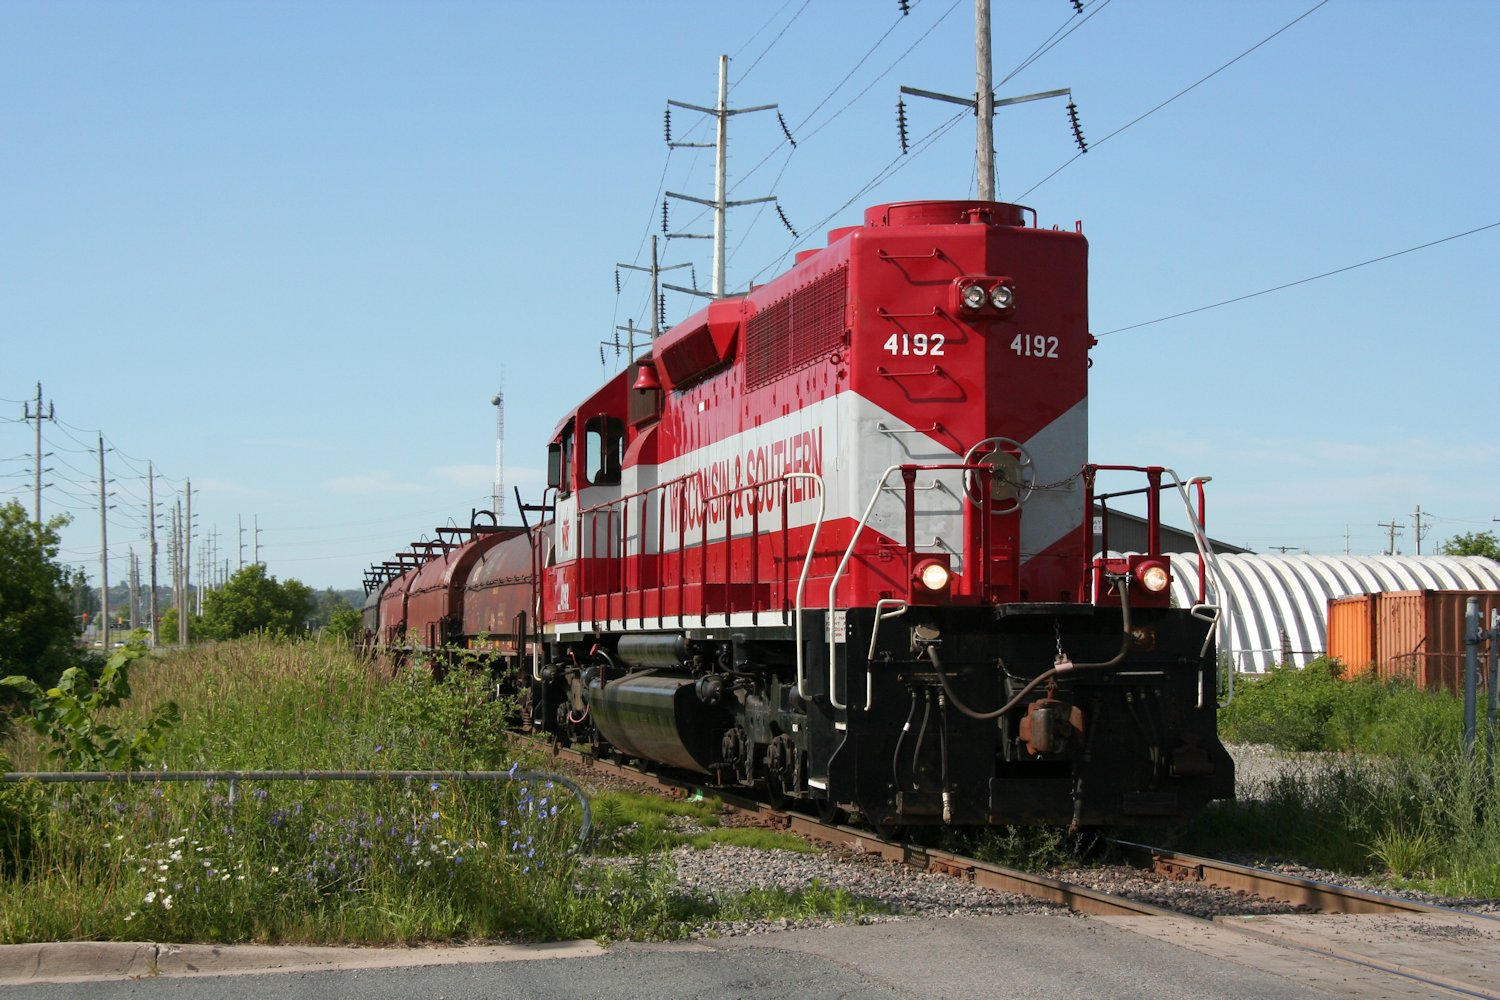
Back in at the end of June 2021, 4 SD40-2s were moved to Steelton yard:
WAMX 4181 SD40-2 (Wisconsin & Southern paint)
WAMX 4182 SD40-2 (Wisconsin & Southern)
WAMX 4191 SD40M-2 (Wisconsin & Southern)
WAMX 4192 SD40M-2 (Wisconsin & Southern)
Not much word on the remaining four units so far, but WAMX GP40 4051 (Watco standard black & yellow paint) was spotted in the yard in Sault Ste. Marie, Michigan just today per a facebook post from a northern Michigan railfan group. (Presumably this will be for the ACR, but could also be for Watco’s new Grand Elk Railroad operation between Trout Lake and Munising, MI.)
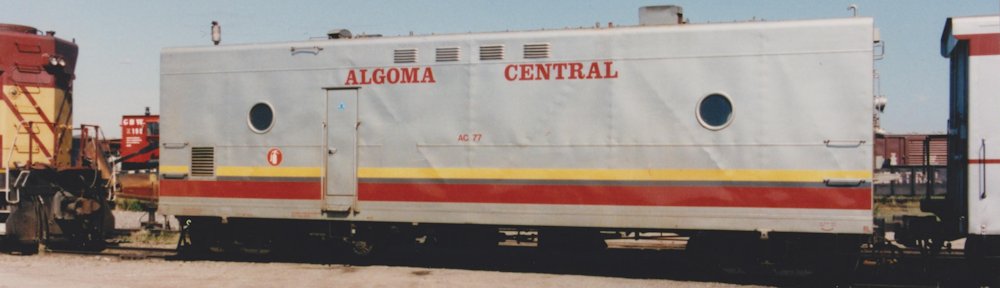
The new railway is also intended to take over operation of the Agawa Canyon Tour Train, so presumably the passenger cars and engines associated with that train would be included in the sale of the railway.
Watco has a page up on their site now highlighting their new Canadian railway:
https://www.watco.com/service/agawa-canyon-railroad-acr/
The new name and logo of the railway pay nice homage to the history of the Algoma Central, bringing back the black bear, and keeping the ACR initials* and also highlighting the brand of the Agawa Canyon tour train.
* It looks like the new reporting marks for the railway may actually be “ACR” (vs. AC for the original railway, which reporting mark is still active under CN and used on a number of log cars).
Not much is known yet about what operations under Watco will look like, hopefully we will find out more in the coming days.
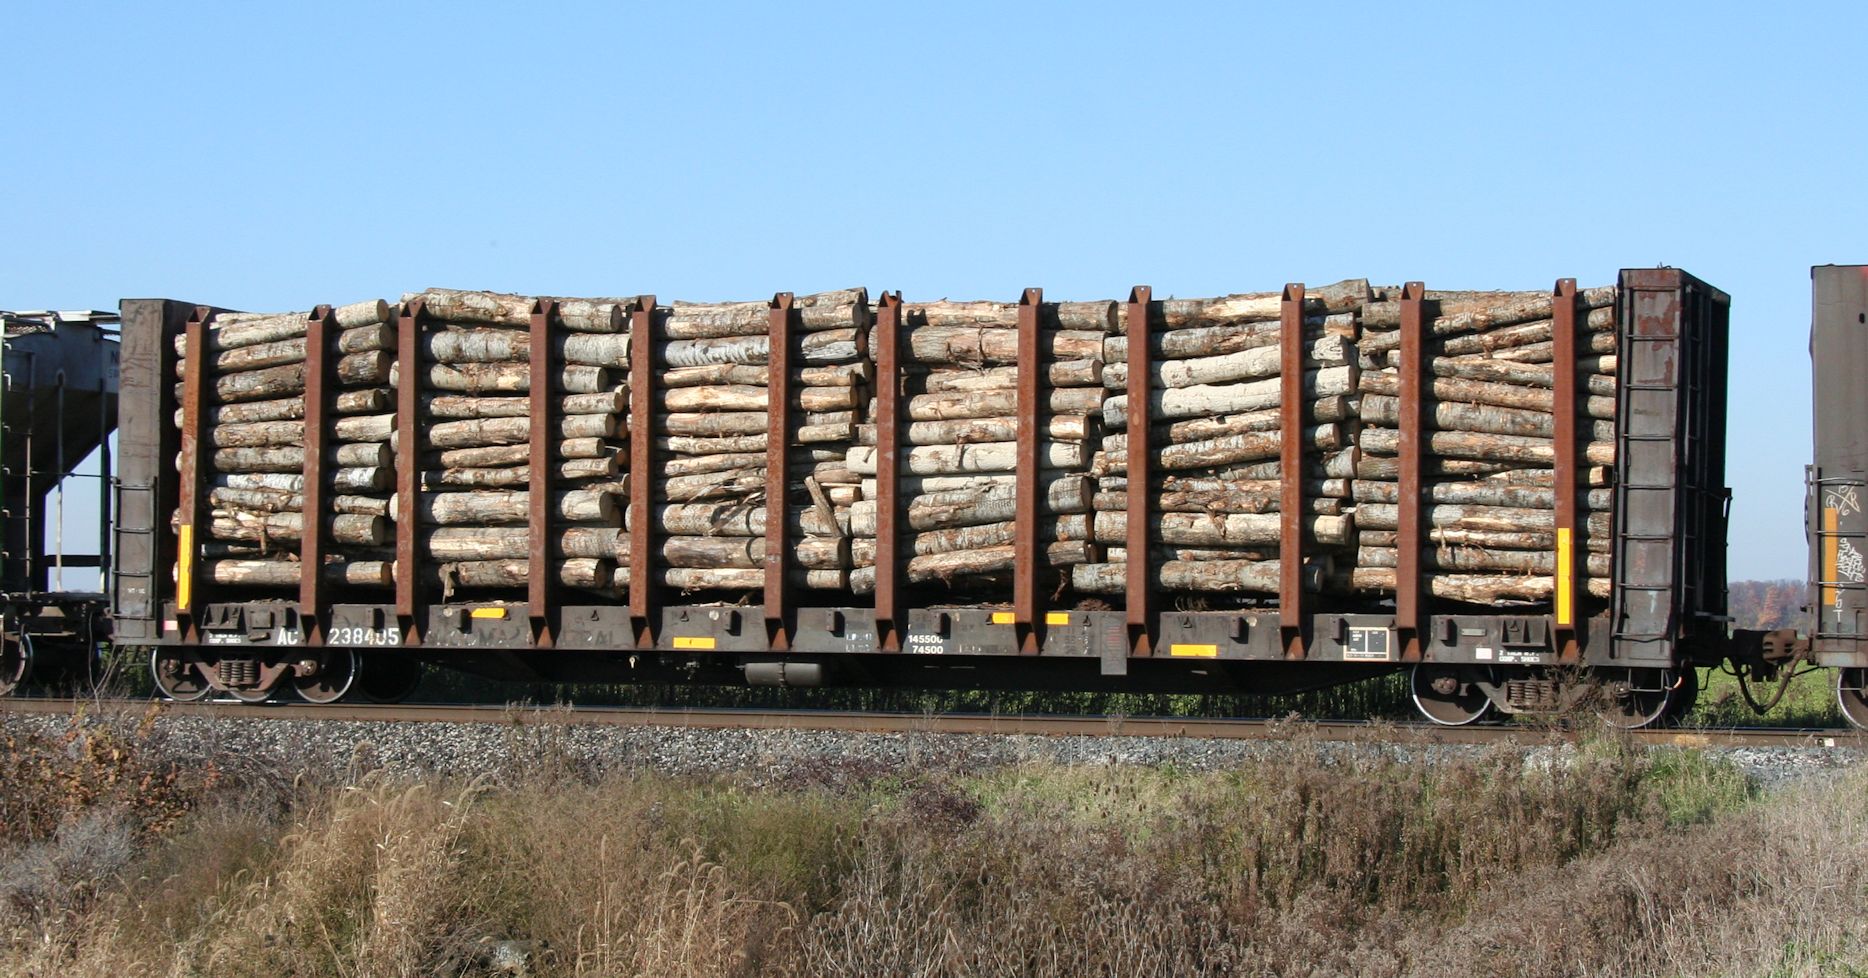
As mentioned in a previous post, blocks of loaded pulpwood flatcars have been common rolling though southern Ontario on CN M397 for the last year and a half since CN has put the south end of the former Algoma Central on mothballs. I believe that these are loaded on a busy log spur at Mead on the former ACR and routed around Lake Huron via Toronto and Chicago to get to mills in Wisconsin.
Most of these cars bear WC reporting marks, and are a wild variety of former CN-family cars from different groupings, including BC Rail, Duluth, Winnipeg & Pacific, CN, and even other Wisconsin Central and Algoma Central cars.
Most of the old Algoma Central-marked flatcars in the 2384xx and 2385xx series are also still in service, and also occasionally show up mixed in, although they are dominated in terms of sheer numbers by the hundreds of cars in the WC 237000-238xxx block.
Last Sunday’s 4-car pulpwood block on 397 contained this treat for an ACR fan. AC 238405, formerly of AC 2401-2425 series built new for the ACR in 1975 as standard 52’10” bulkhead flatcars and converted to a pulpwood car by Wisconsin Central in 1998. The original lettering is quite worn, but you can still see the original “ALGOMA CENTRAL” lettering to the right of the new car number.
I hadn’t initially thought to necessarily write up a full post, but a photo on facebook drew a pretty good response, so I thought I’d share some details here.

I’m sure a common malady amongst model railroaders is the accumulation of many in-progress projects all taking up space on the work table(s) at the same time. Like most, I have many kit projects on the go, and of course a lot of scratchbuilds and other custom projects, plus I recently acquired a 3D printer (which I’m sure will be prominently featured in many project to feature on this blog in the future). Of course these scratch projects don’t come with their own box(es), and many times extensively reworked custom/kitbash jobs don’t necessarily go back into original packaging either.
Keeping things (especially trucks, screws, and other small parts for projects) properly organized and separated (from other projects) and together (from not being lost from the project they belong to) becomes kind of important when you have more than one or two projects in the same work space. And just throwing parts and pieces in random surplus Athearn/Intermountain/Accurail kit boxes just wasn’t cutting it any more.
So I got some sheets of foam core presentation board from the local arts and crafts store (also available at most office & school supply stores as well) and worked up some standardized “project boxes” – larger than small kit boxes so that larger or multi-car projects can be organized together, and standard dimensions so the boxes can be stacked and organized to clean up my work space.
Properly laid out, two standard sheets of 20″x30″ foam core board can be cut into five 10×12″ boxes with a 2 1/2″ depth. The cutting diagram is laid out below: (Note the “long” sides are ~11 1/2″ not the full 12″ of the box bottom since they will fit in between the 10″ box ends.) The leftover strips can be saved to make low dividers in some boxes to separate small parts for some projects, etc.

Assembly of each box is super straight-forward, gluing the sides and ends to the bottom of the box to make a simple rectangular box with open top as seen in the lead photo. I assembled my boxes with a hot-glue gun (a “mini” version was purchased for $5 at the arts and crafts store). You could also use regular glue, but the drying time is very slow, and while the glue is wet the sides fall over if you sneeze at them, and if there’s any warping of the boards it’s difficult to hold them together properly. The hot glue sets very quickly and strongly.
For the finishing touch(es), you can use the leftover material after cutting out the box pieces per the cutting diagrams above to add internal dividers inside any of the boxes in any fashion that makes sense to organize bits and pieces of your projects (or some boxes could be general “parts boxes” instead of a specific project e.g. misc freight car details, doors & windows, etc.

Finally, from the remaining scrap material cut small squares of material to glue to the bottom of the boxes about ~1/4″ inset from the edges. These will act as “locking pins” into the open top of the box below and allow many boxes to stack without any movement, so you won’t fear the stack of boxes sliding and collapsing, spilling your projects over the worktable and/or floor.

And that’s it; just a very simple and inexpensive way of creating some organizers for your work space and various projects in-flight.