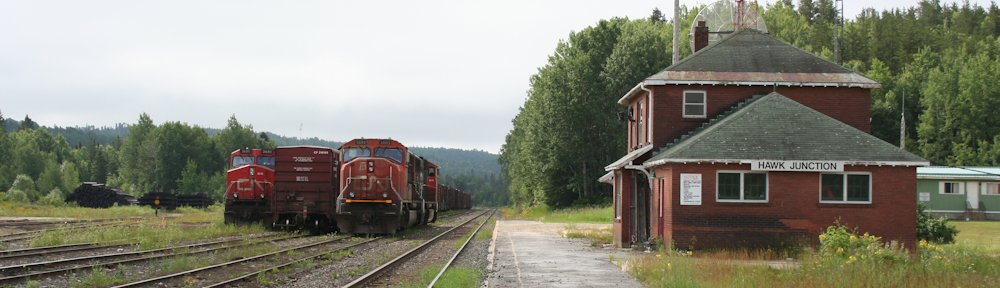
A good portion of the traffic on the Algoma Central is finished steel products, and as a 300 mile wilderness route with no industrial users of this steel, basically one hundred percent of this traffic was interchanged to other railways, particularly in Sault Ste. Marie (CP and SOO Line), Oba (CN) and to a lesser extent Franz (CP). As such, CN and CP also provided a certain amount of cars for steel loading, so open cars from these railways would also be a regular sight on Algoma Central trains.
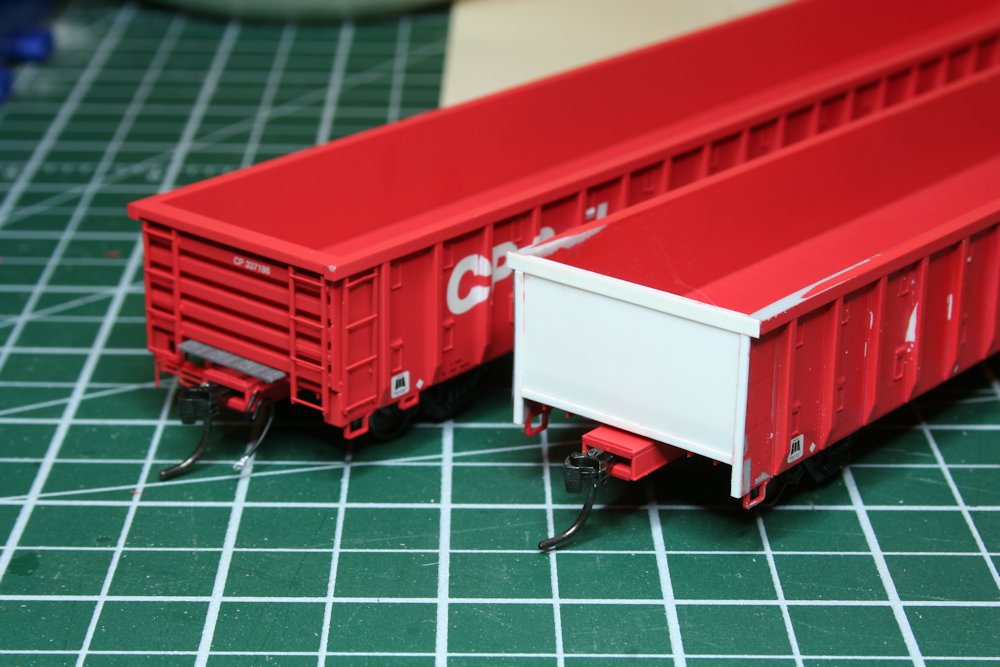
A few years ago, ExactRail released a model in their “Signature Series” of a Canadian Pacific 65′ gondola. This car is based on a version of a car built in the early to mid 1970s by Hawker-Siddeley and Marine Industries. Many of these are still in service today, so this is an excellent choice to be a part of my Canadian Pacific fleet. To add a little variety to the several cars I’ve collected, I’ve always been intending to take at least one car and backdate it to a late 1960s National Steel Car version of the same car. The NSC version is almost identical, having the same overall dimensions, number of side ribs, tie downs, etc., but has different ends and ladder arrangements. While the later HST/MIL cars have a distinctive ribbed end, the NSC car’s end is a solid, flat panel. Also, the NSC cars were built just before the introduction of CP Rail’s new “MultiMark” paint scheme, and were thus delivered in the older black paint. Interestingly, these cars were painted in simple block lettering, even though the Canadian Pacific script lettering was then the current lettering scheme in use at the time.

CP 336702 at Guelph Junction, sometime in the 1990s. Jurgen Kleylein photo.
The first step was to disassemble the car and remove most of the little detail bits. Then I cut away the original end with a razor saw and cleaned things up with a file. The side extensions that cap off the horizontal end ribs were also cut back and the bottom rib, which is below the level of the interior floor on the model, was carved away and things filed smooth. Then a plate of .040″ thick styrene was installed in the opening to form the core of the new end. The surface of this plate needs to be flush with the rest of the cleaned up end for the rest of the project to work.

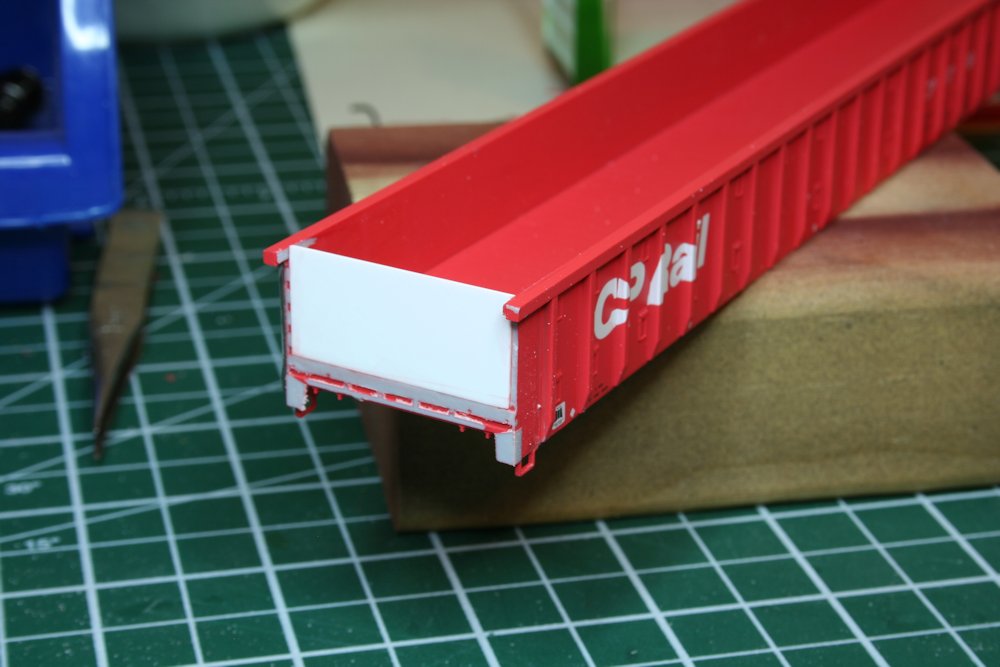
With the core of the new end in place, I cut away the protruding tail ends of the top chords of the sides flush with the end plate, and started framing in the new end with a 2×6 top chord and 2×4 framing around the sides and bottom. (Actually in the photo below I goofed and used a 4×6 on the top chord, which roughly matched the thickness of the top chord on the sides, but checking the prototype photo above, you can see it’s not actually that prominent on the end and is a lot more flush, so I had to cut this away and replace it with thinner material.)
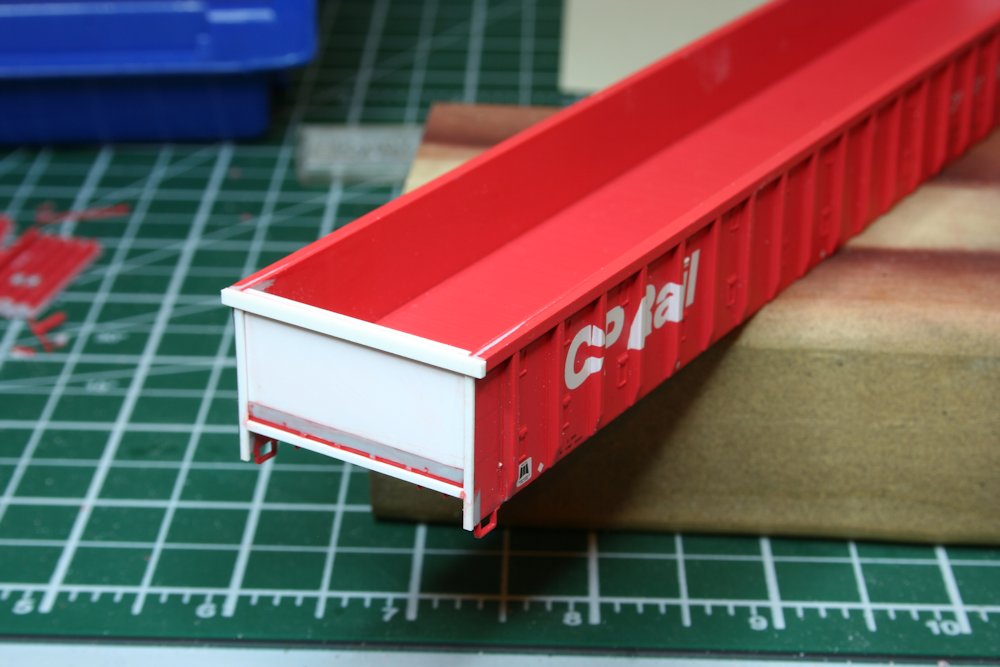
The basic assembly of the end was then finished off by cutting and filing a rectangle of .010″ styrene to fit snugly inside the end framing. Ladders and other details still need to be re-added, but here you can see the assembled end compared to the original ExactRail end on the car to the left.